

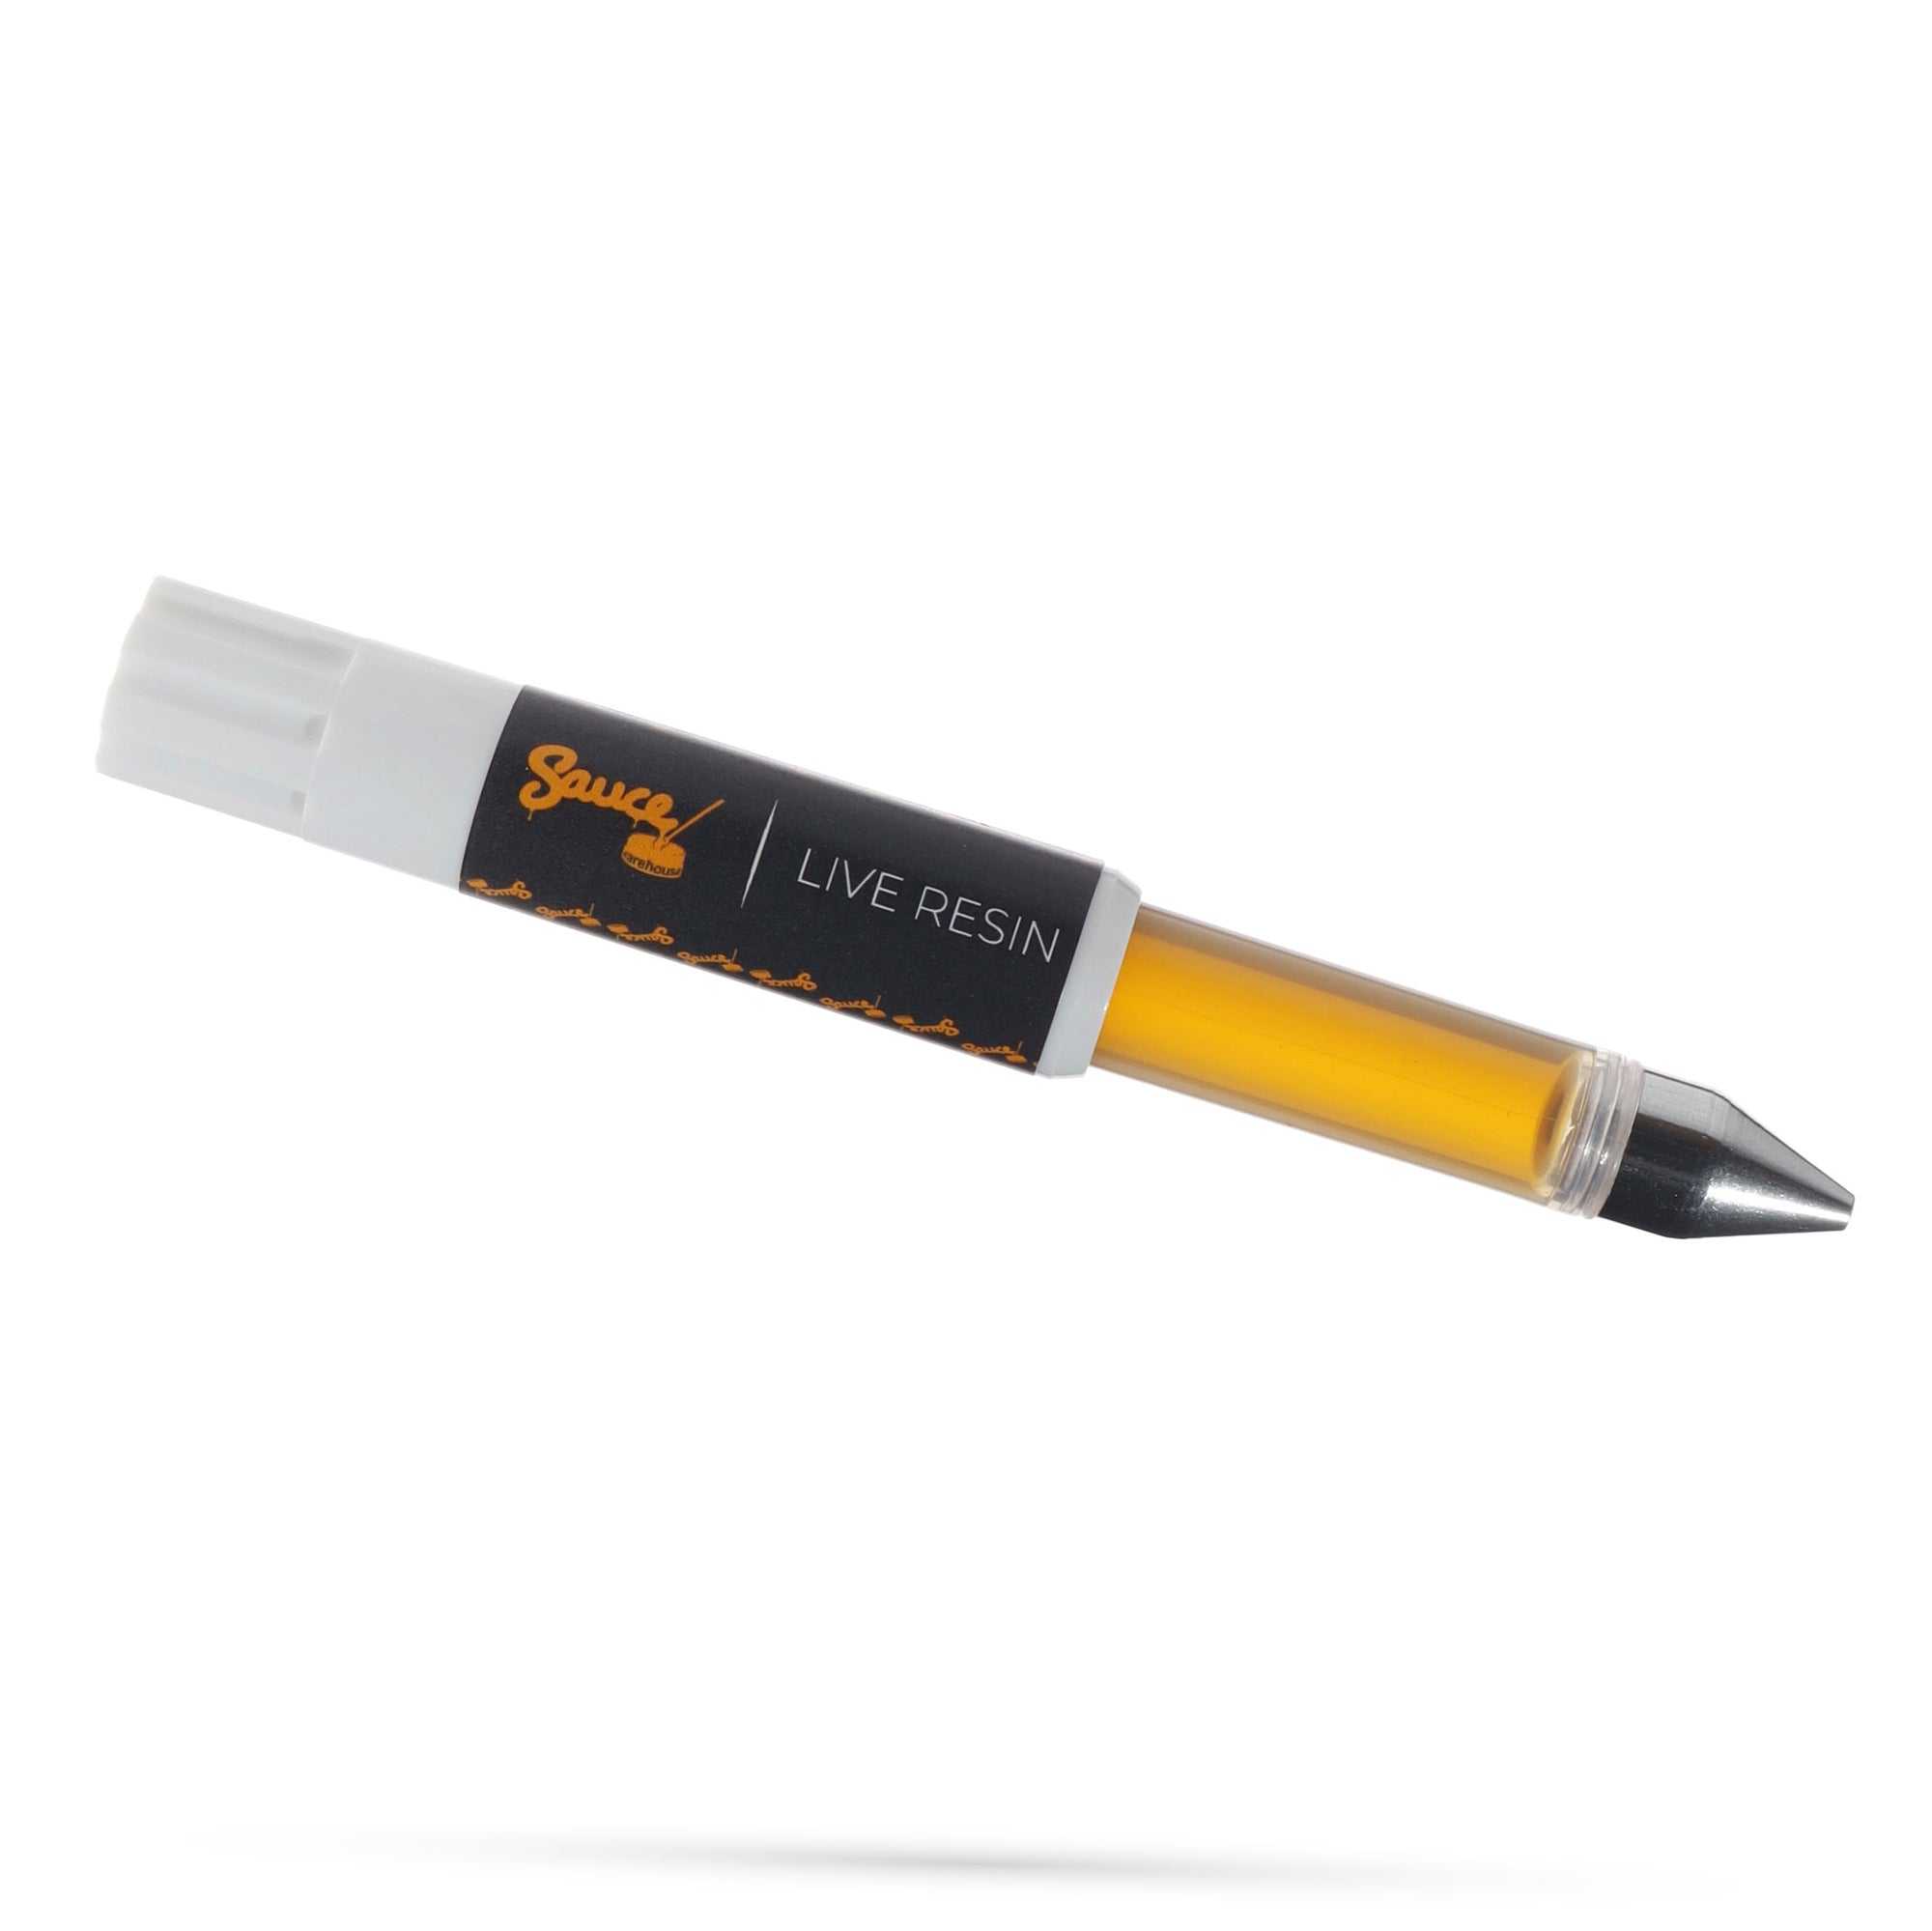
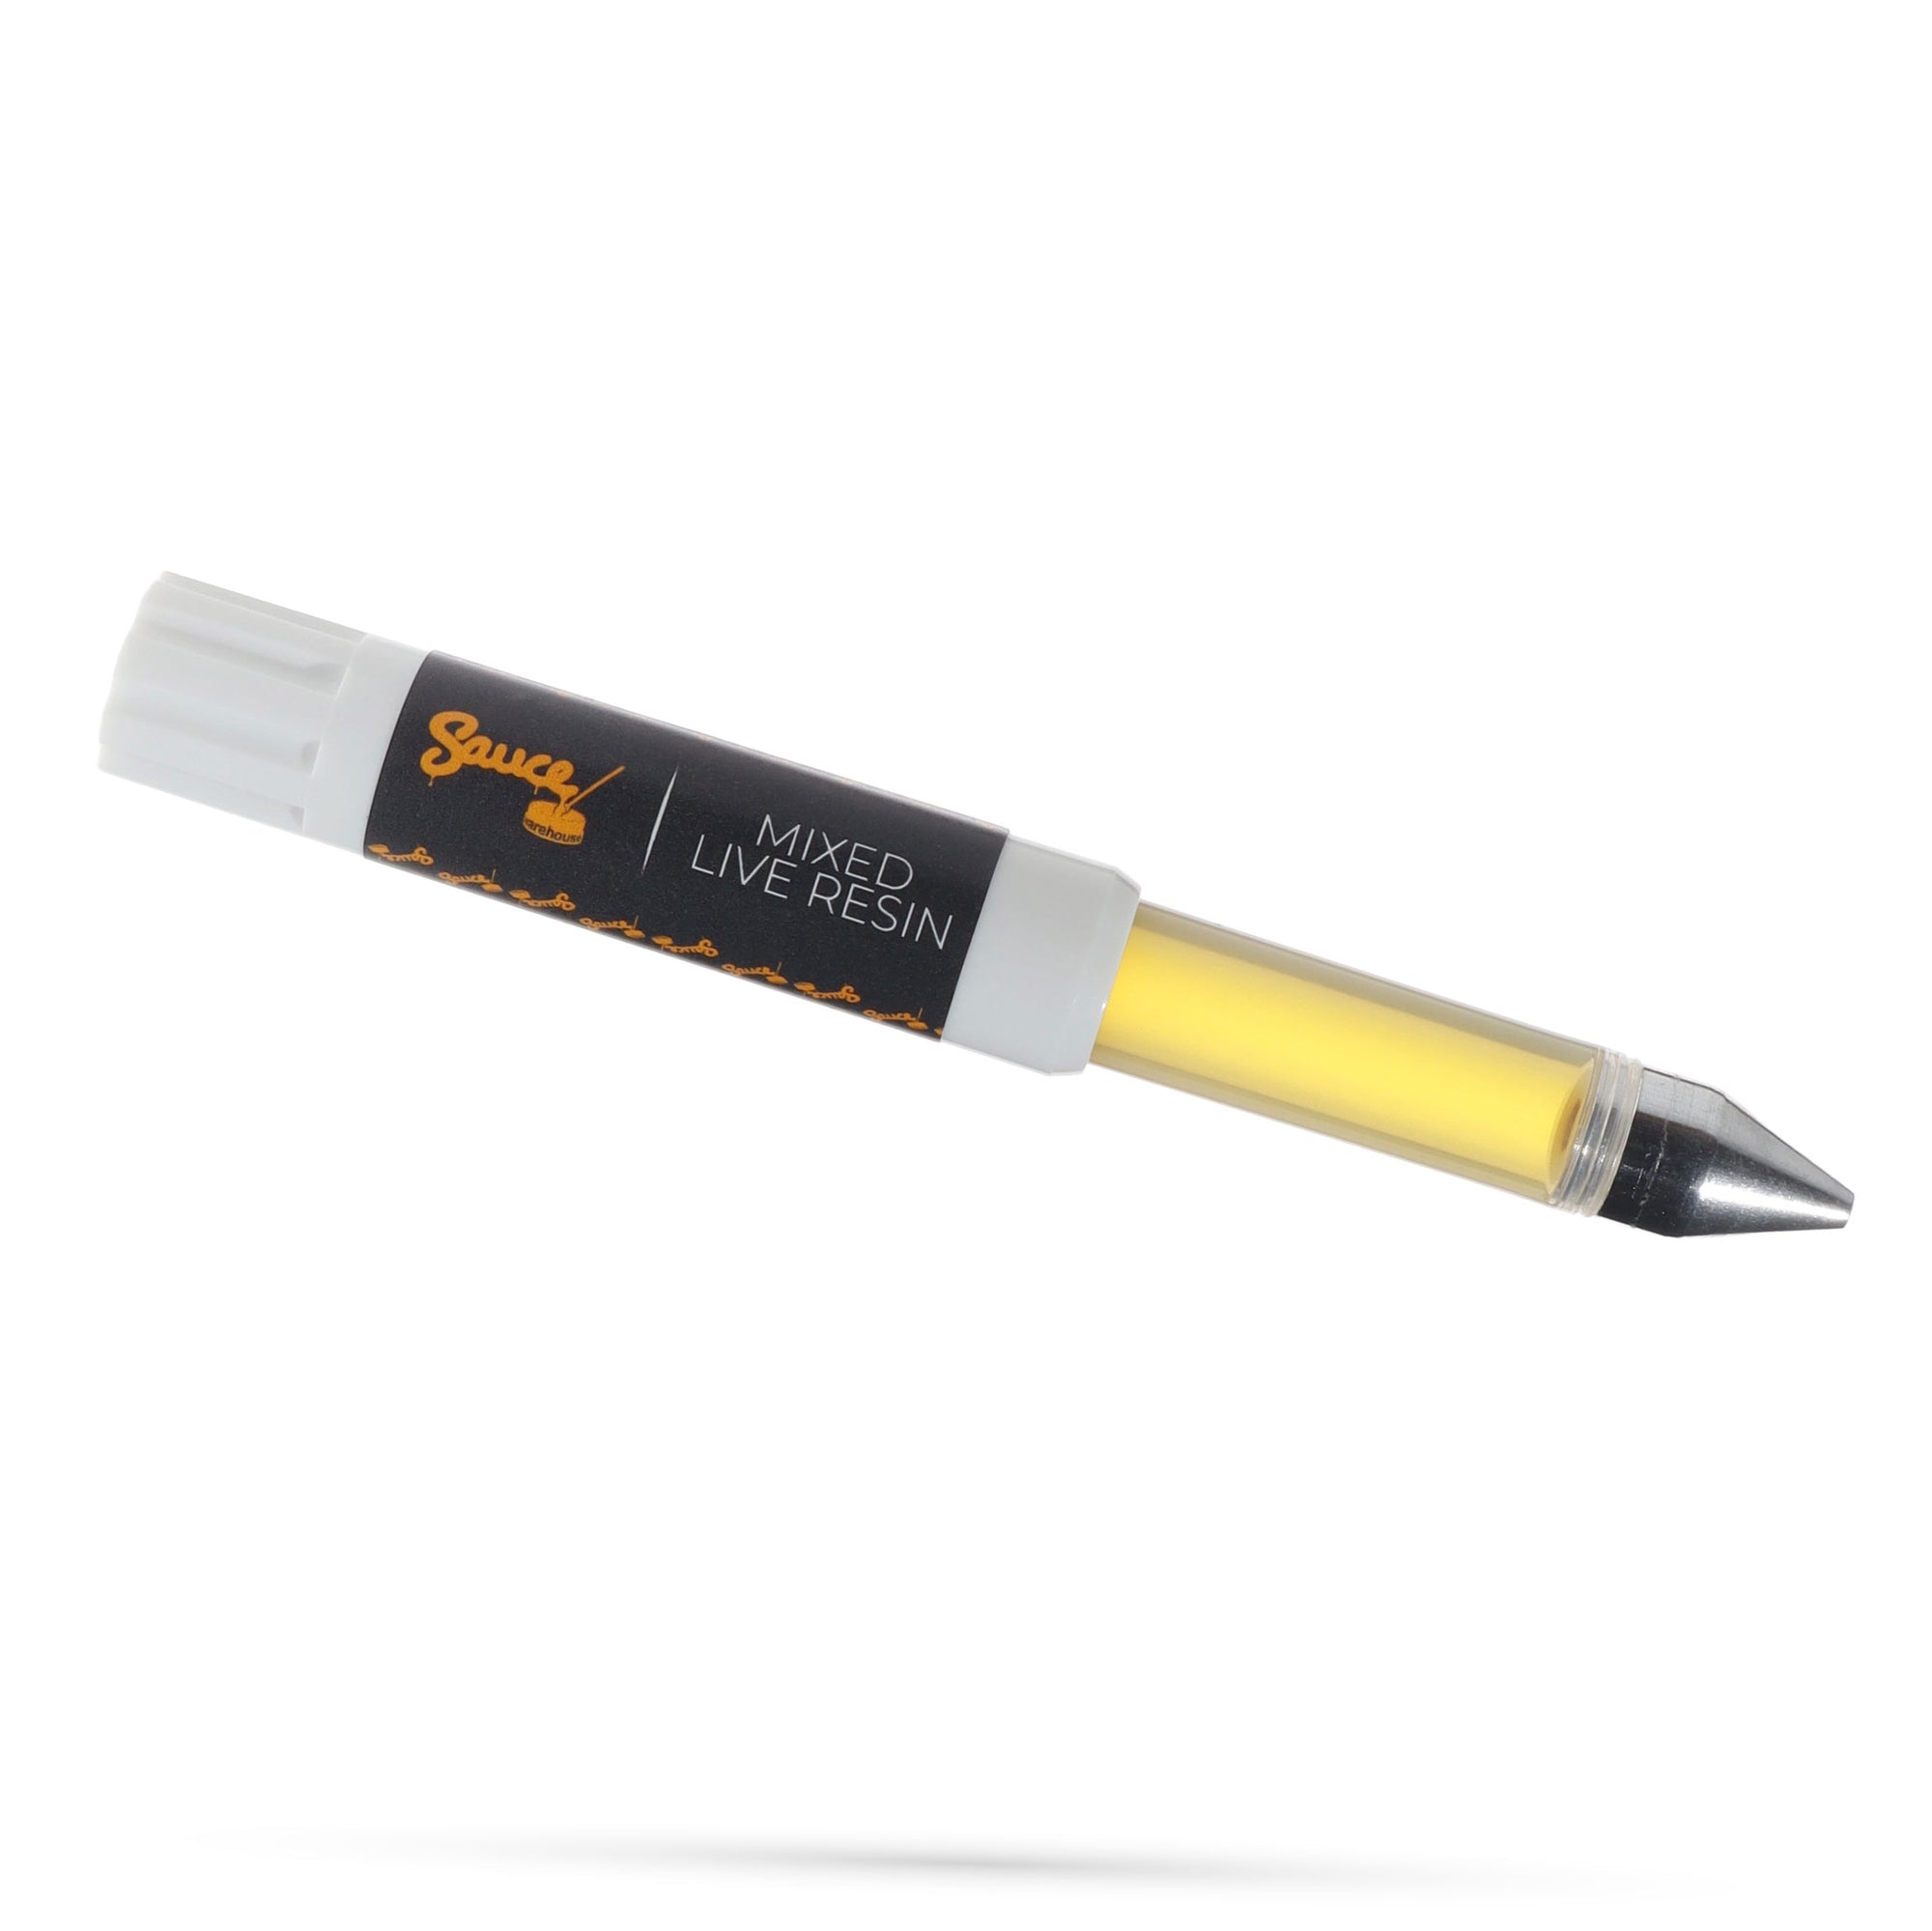
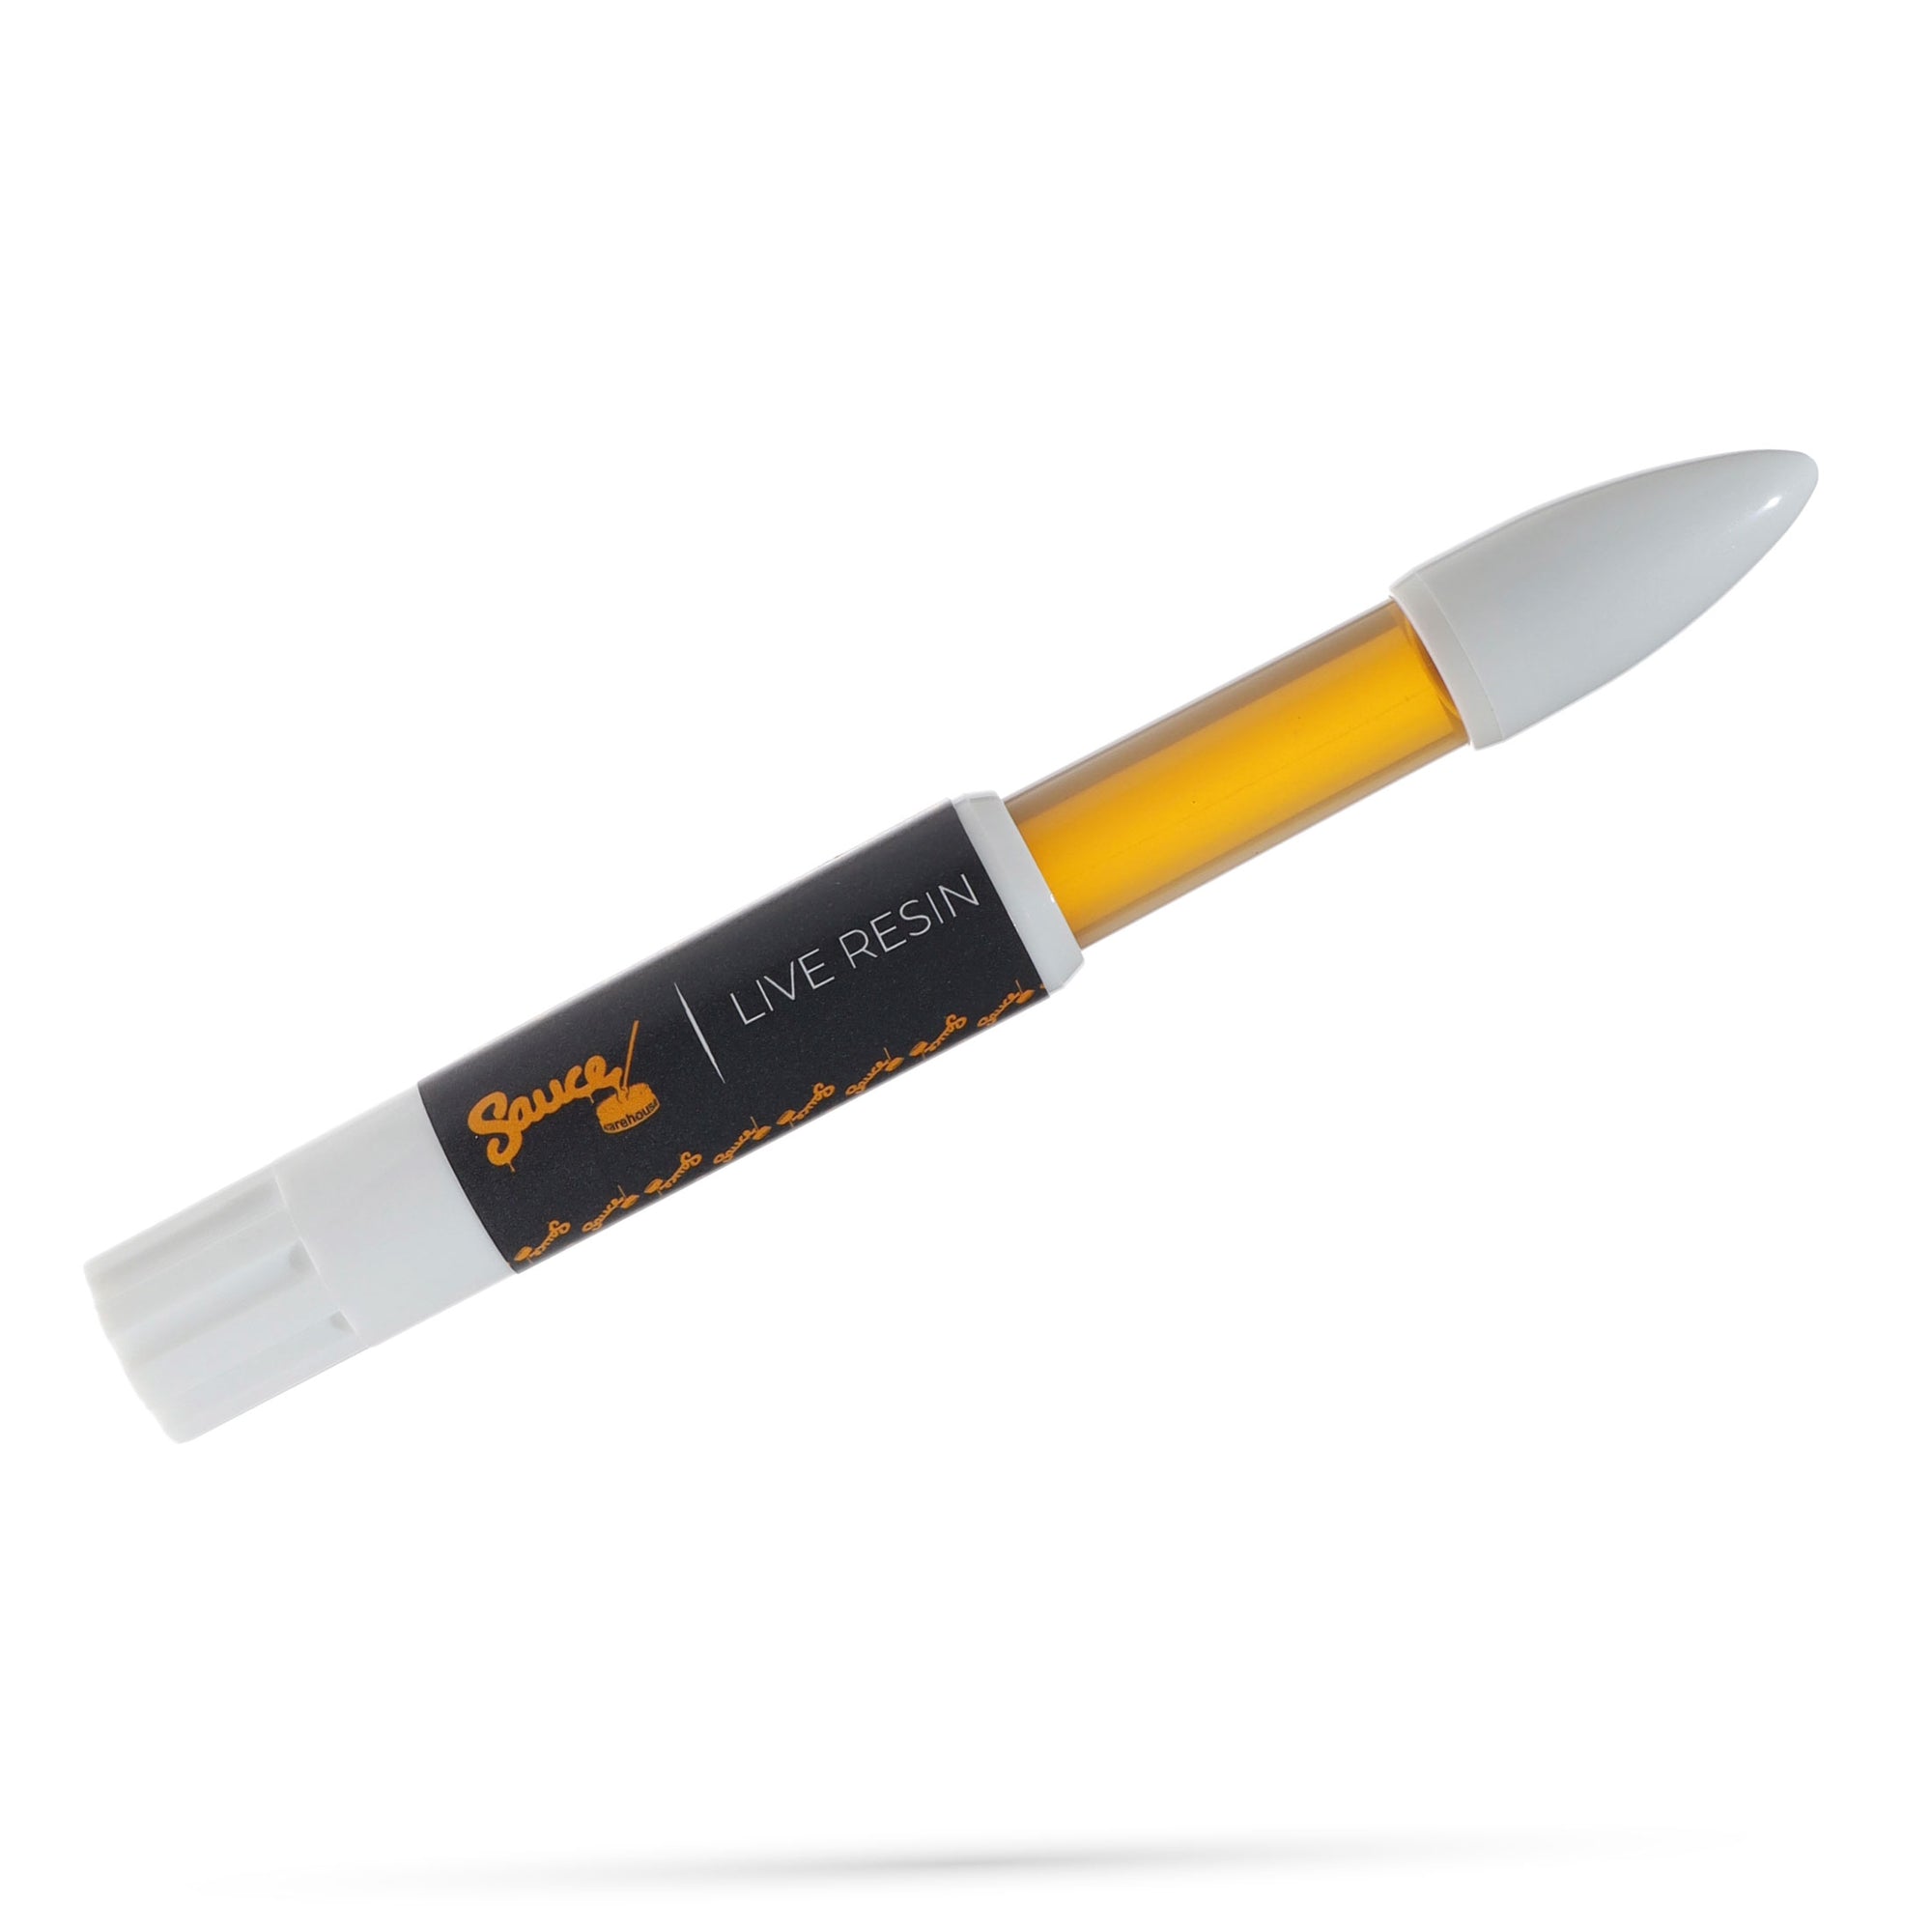
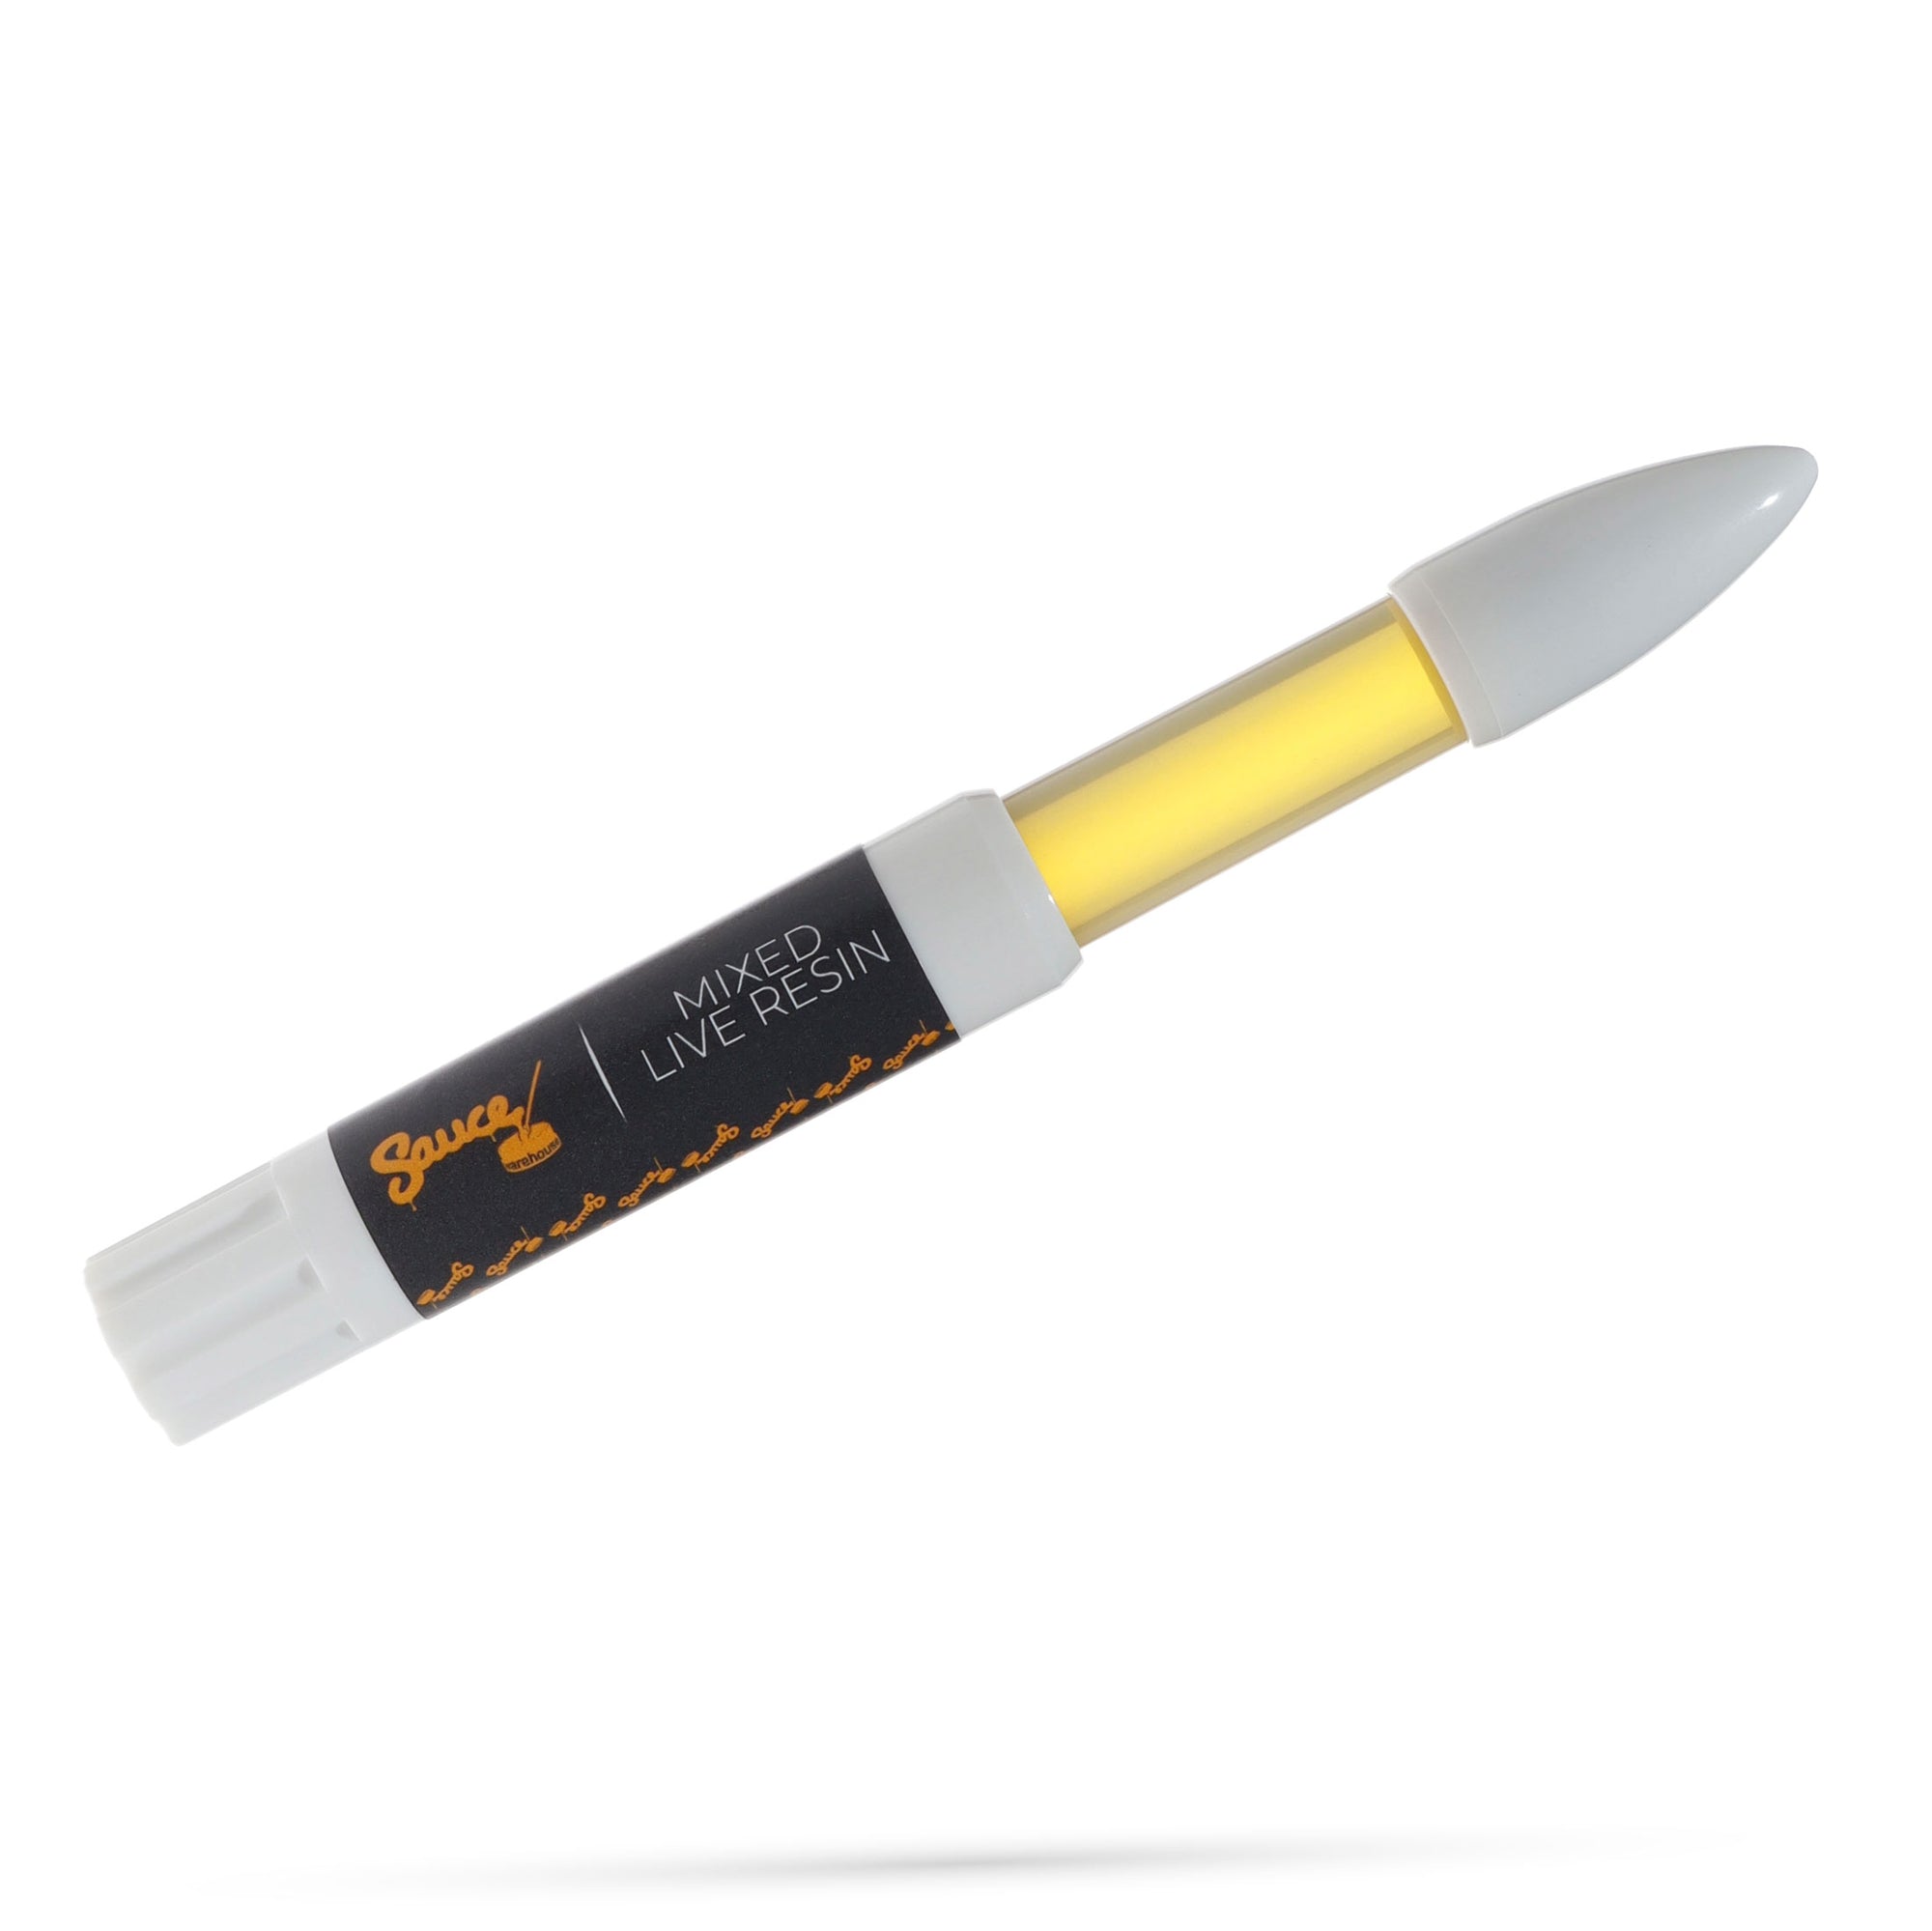
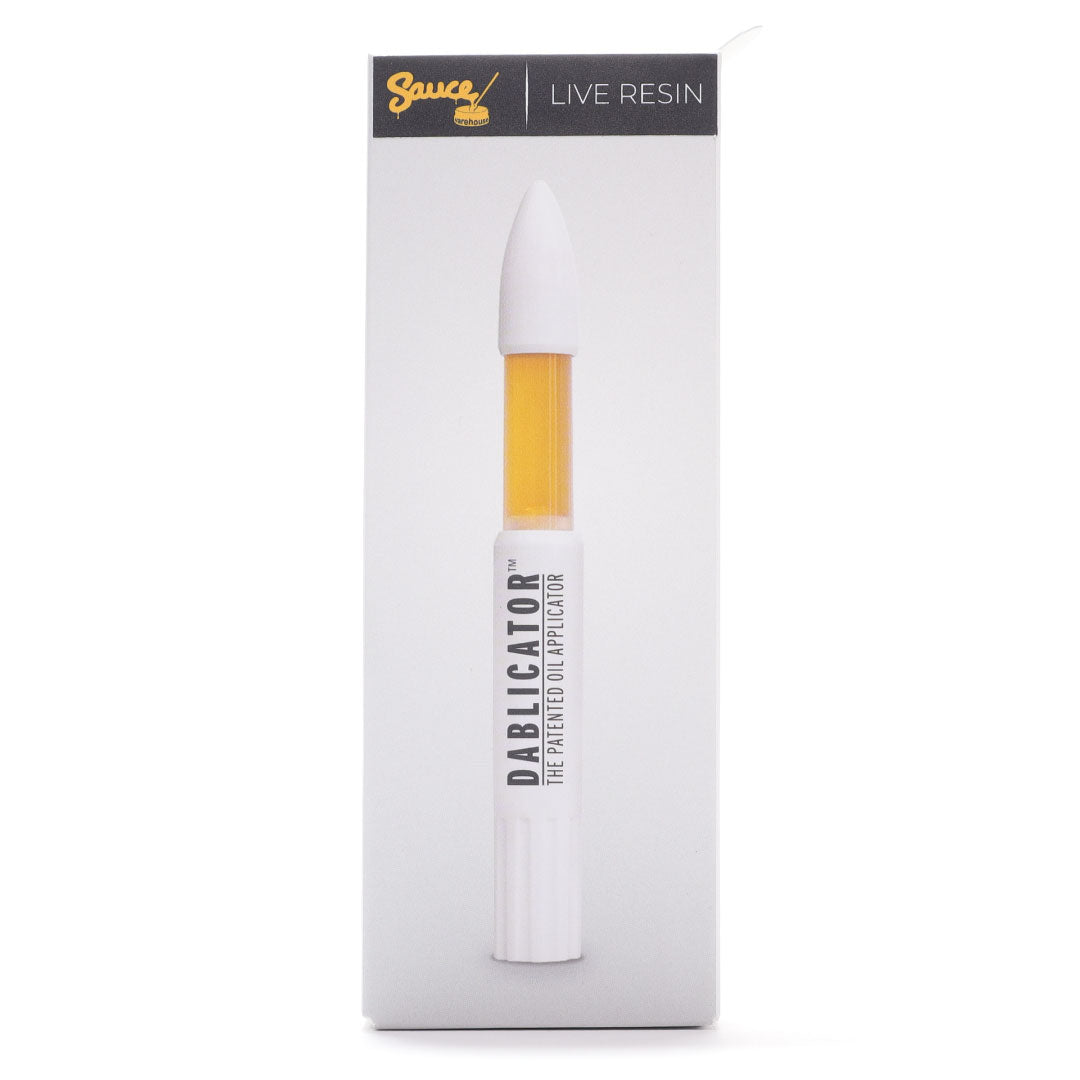
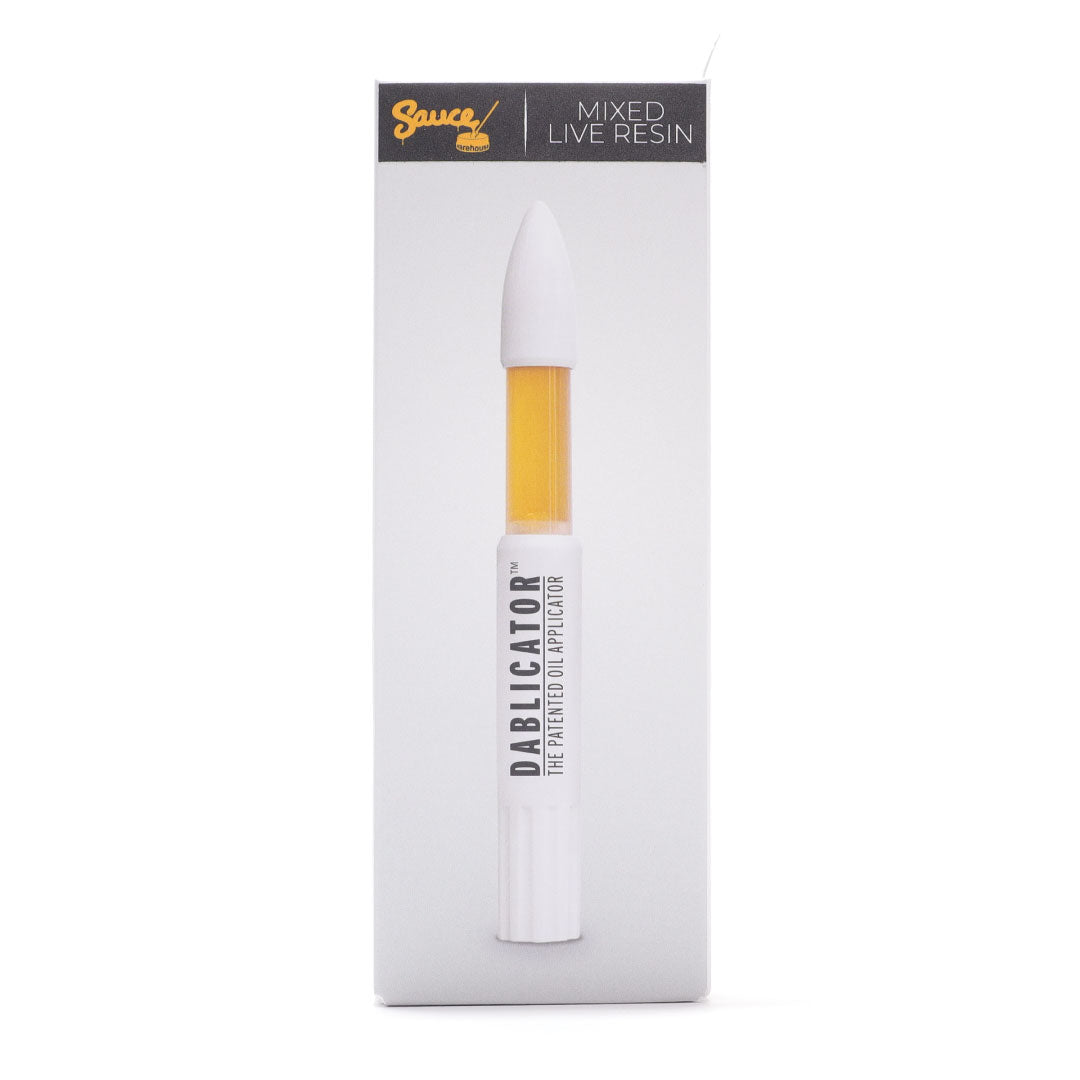

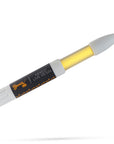
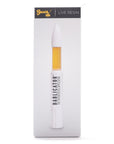
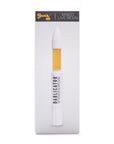
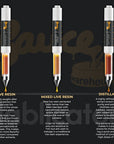
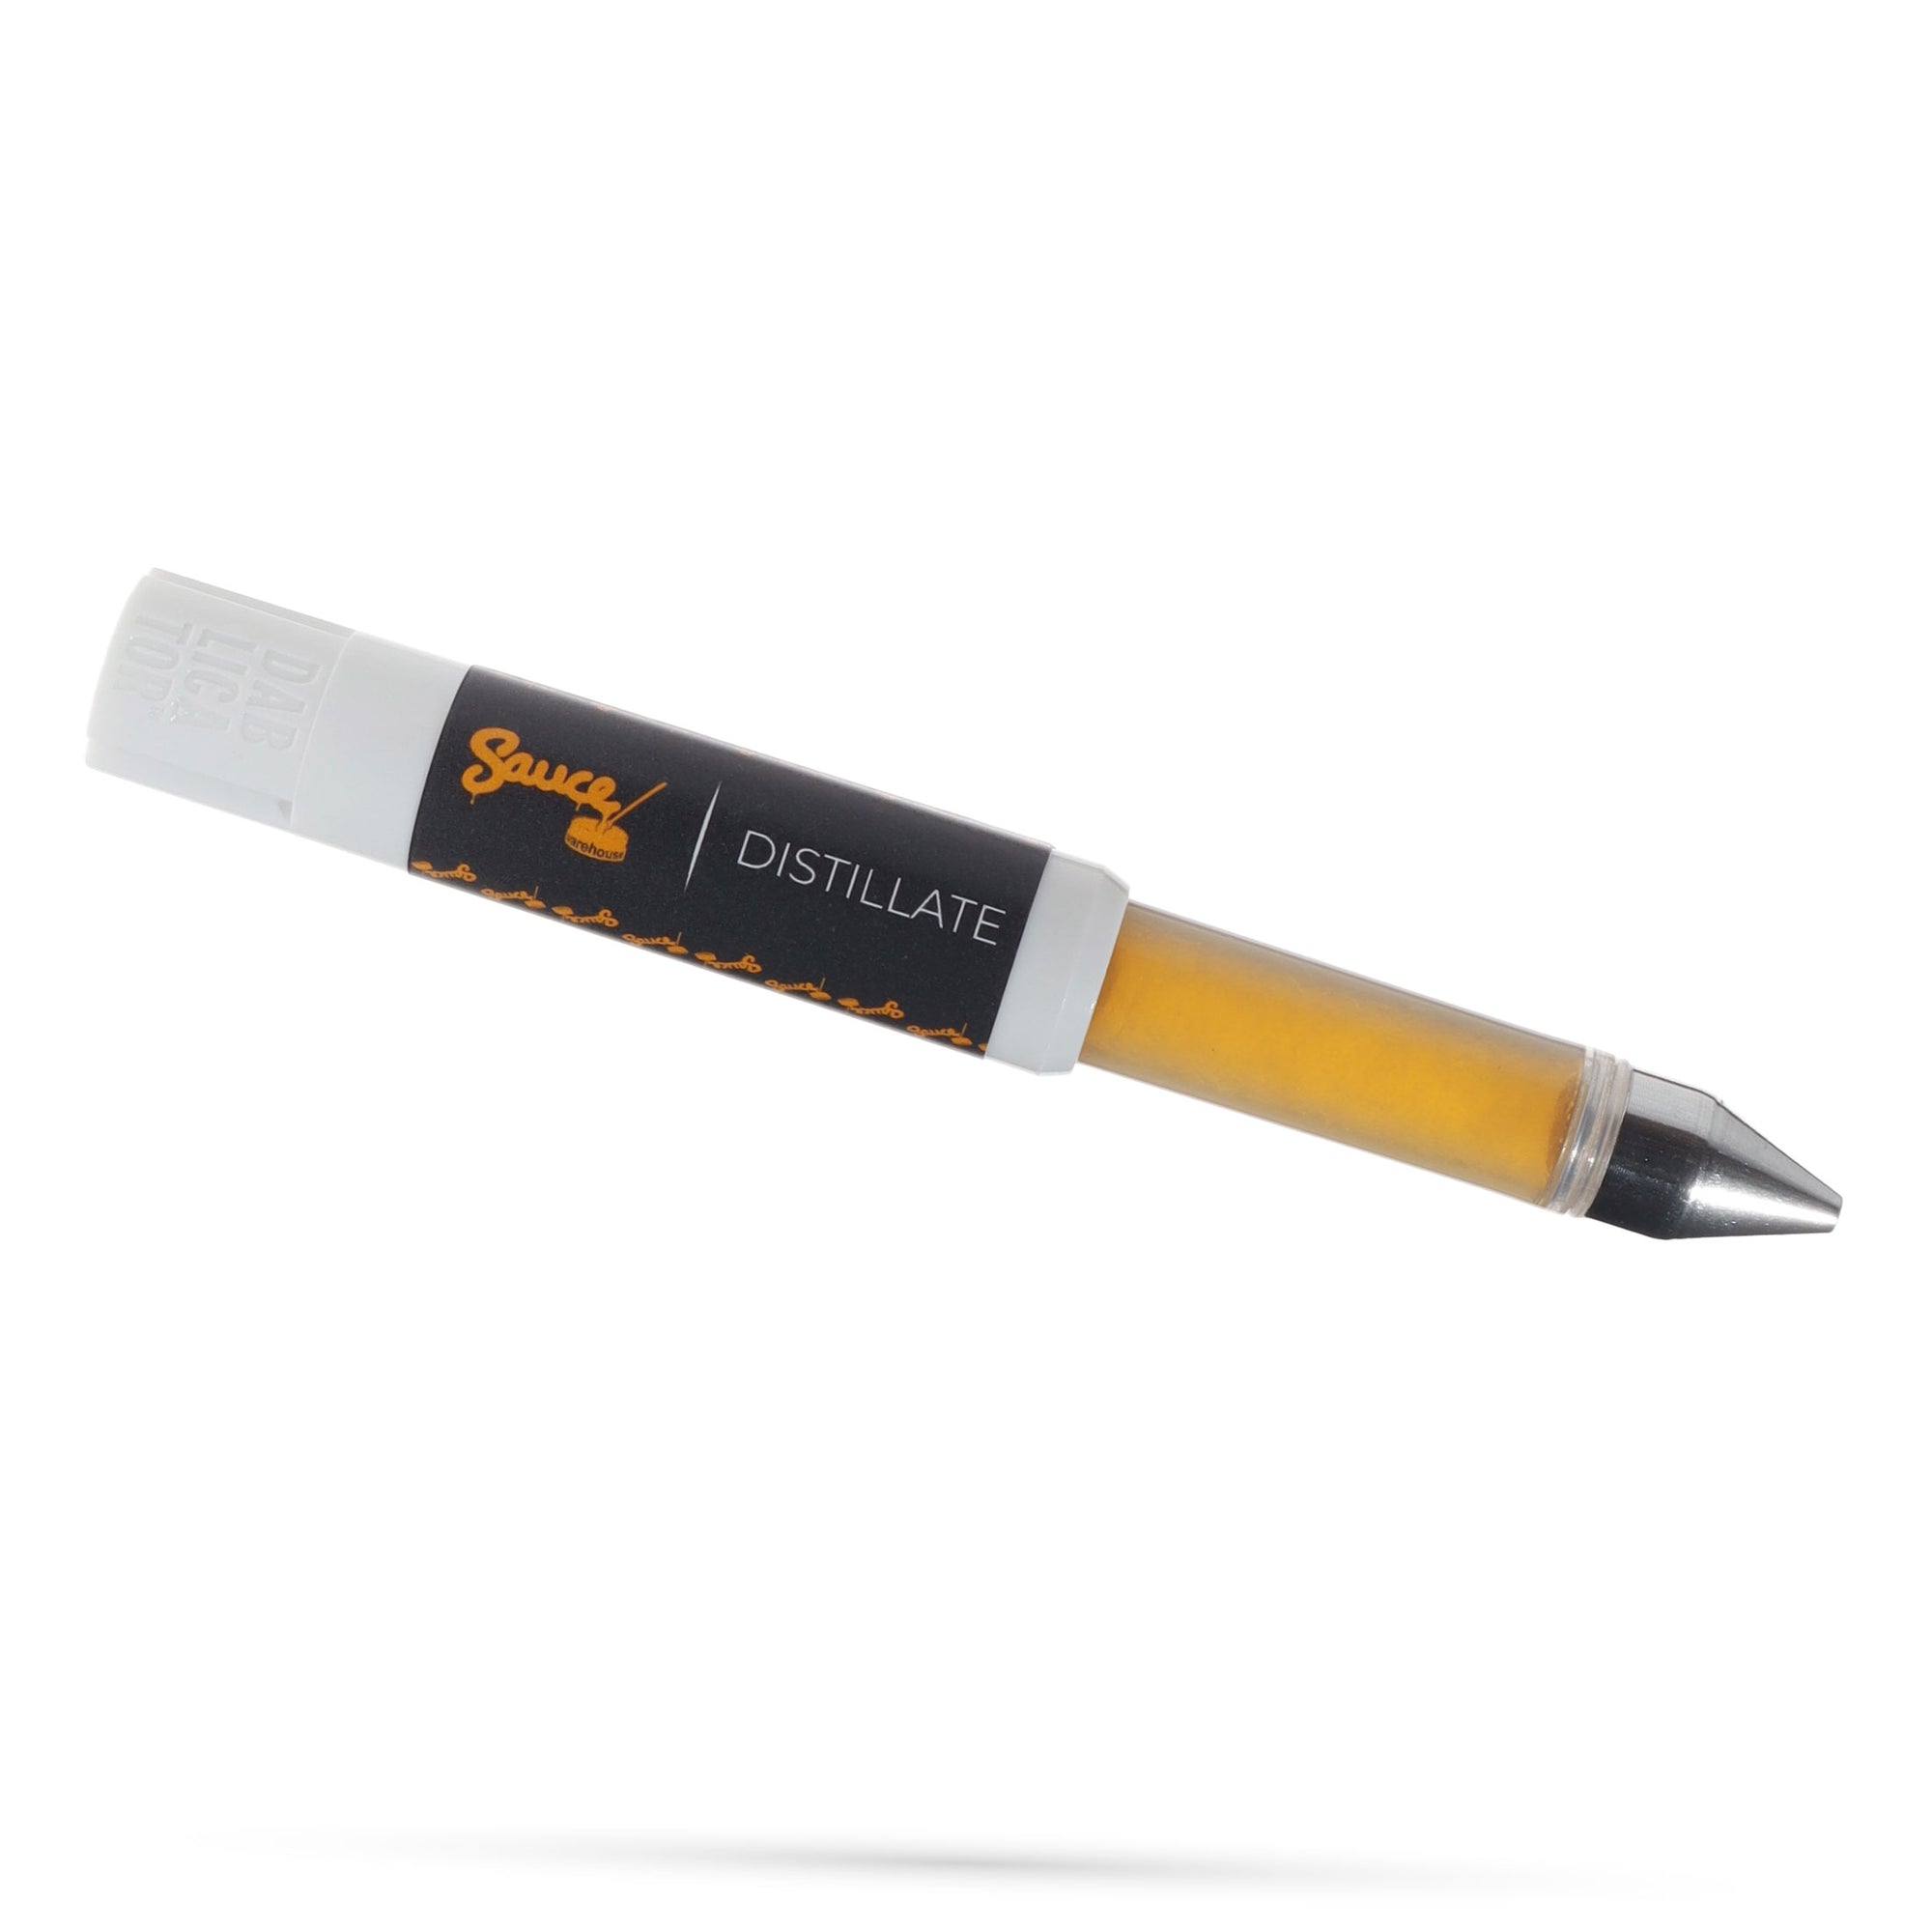
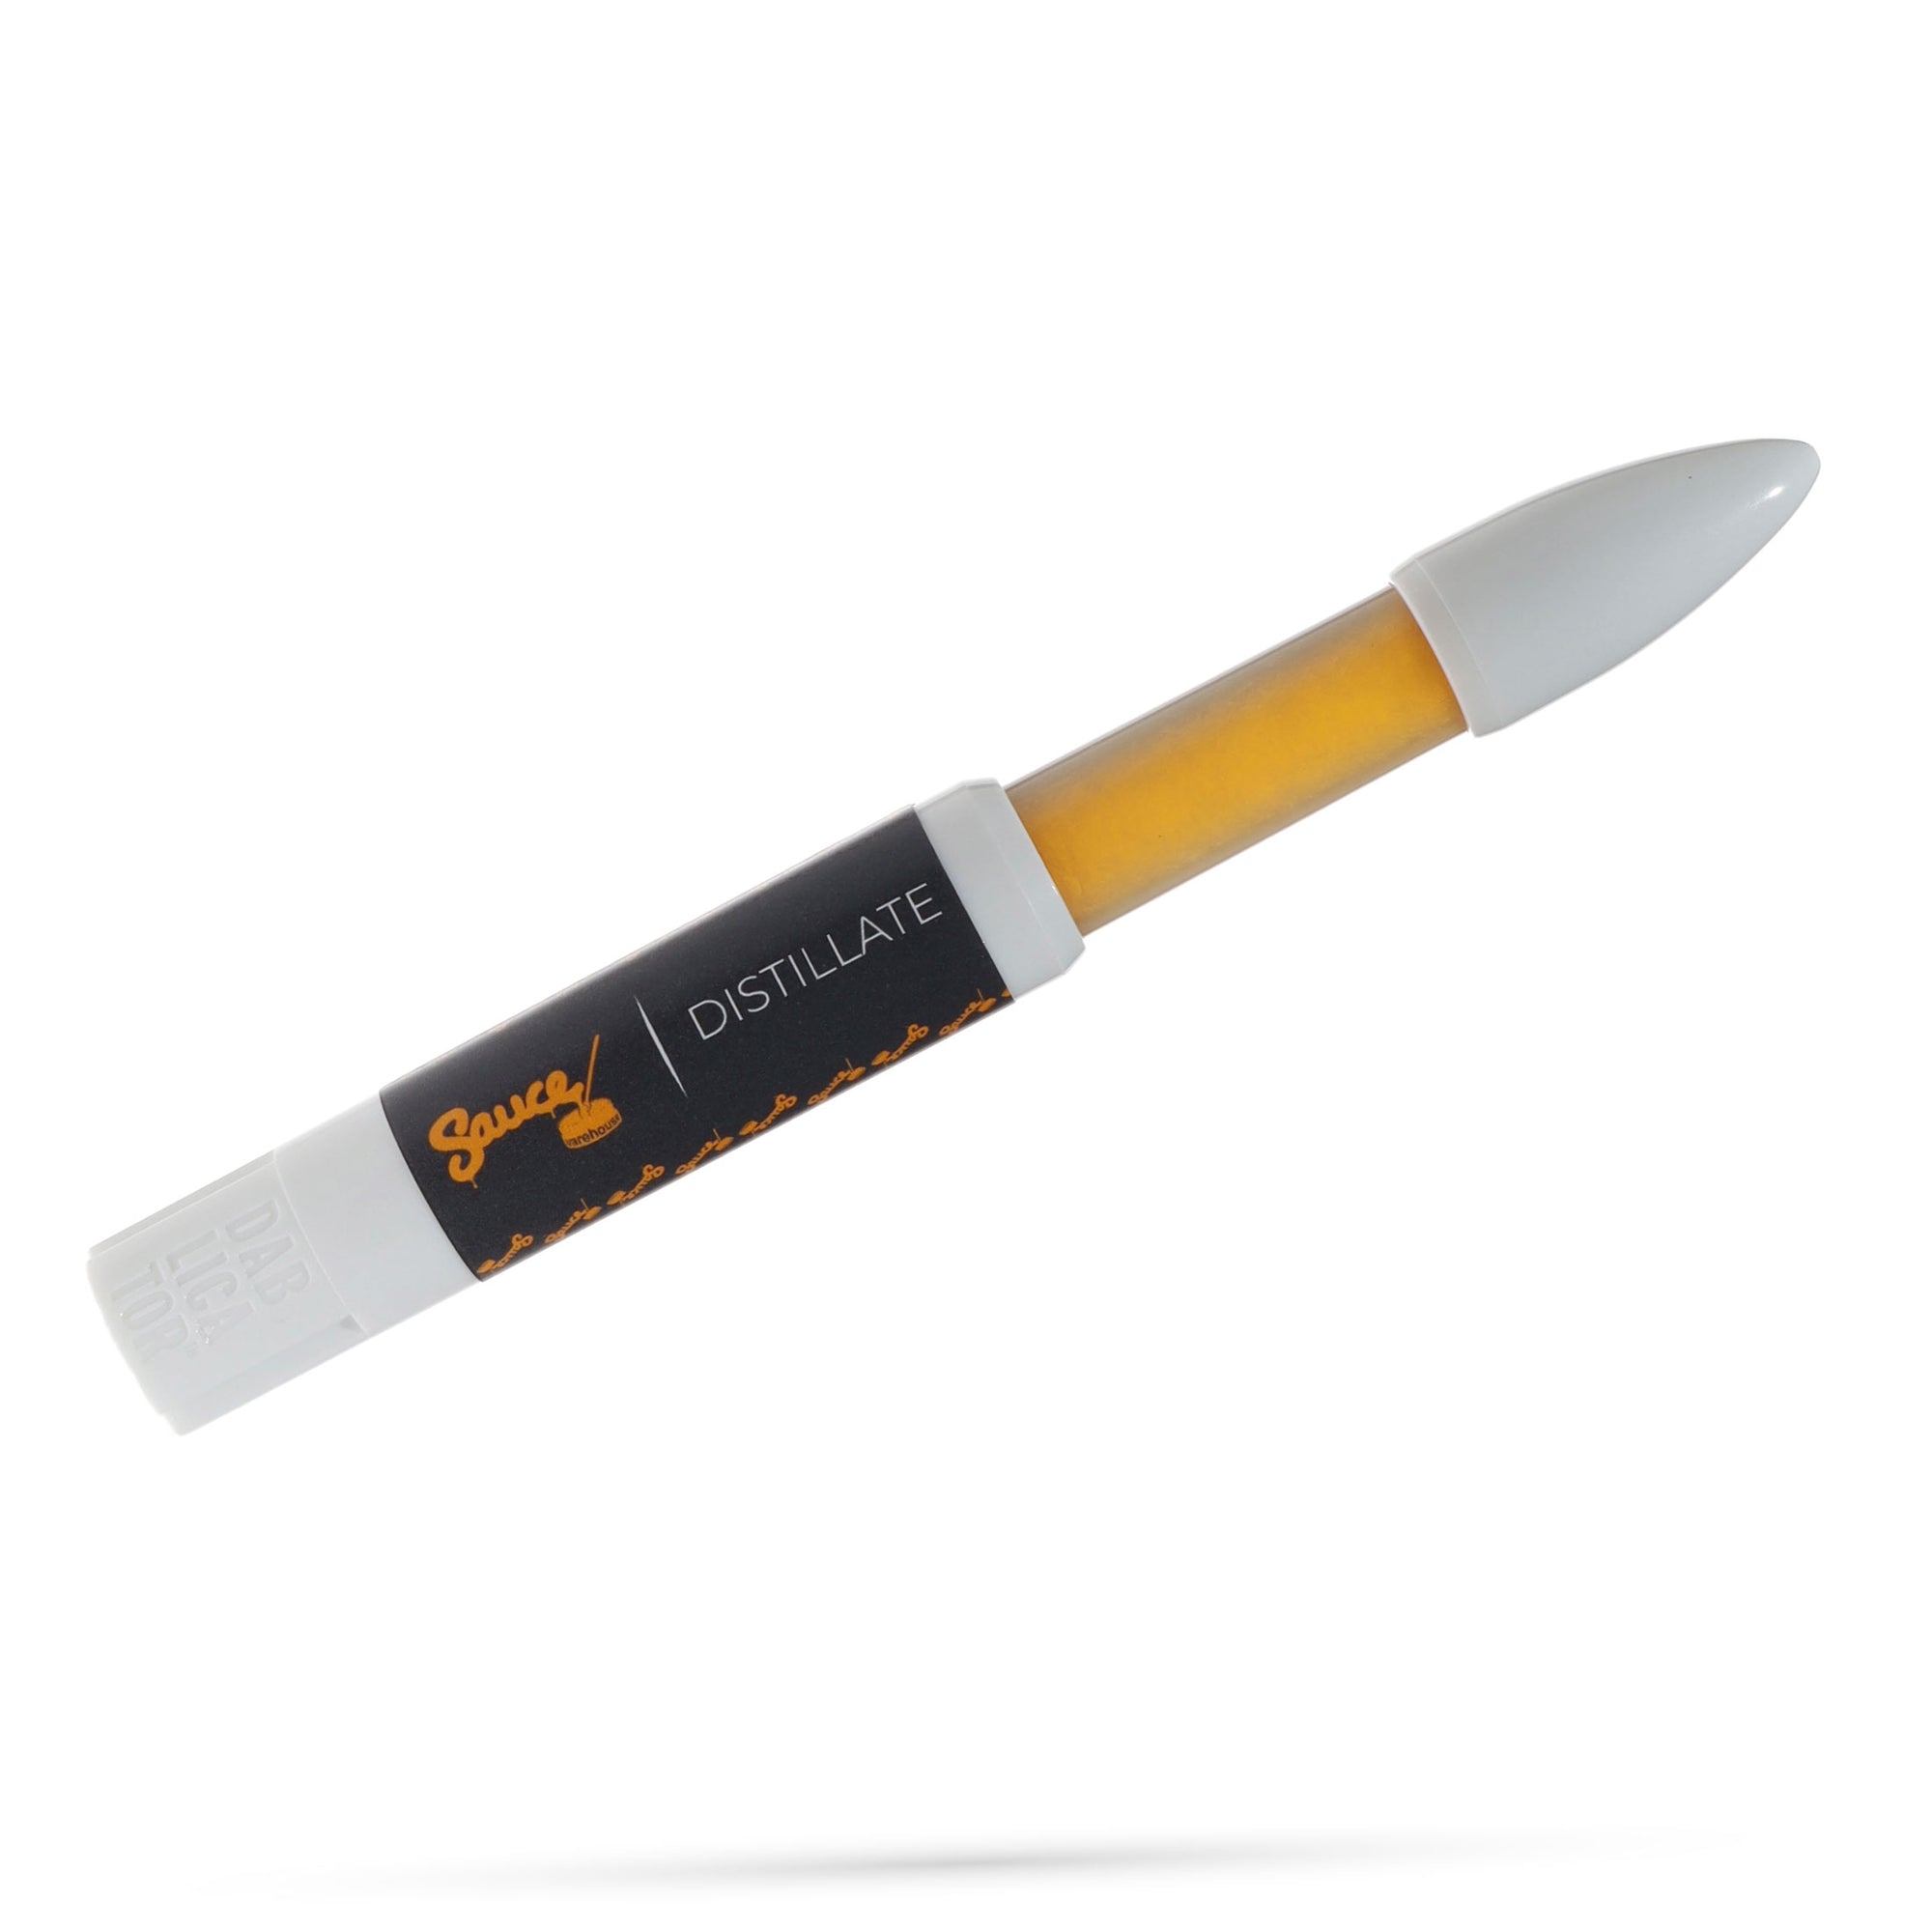
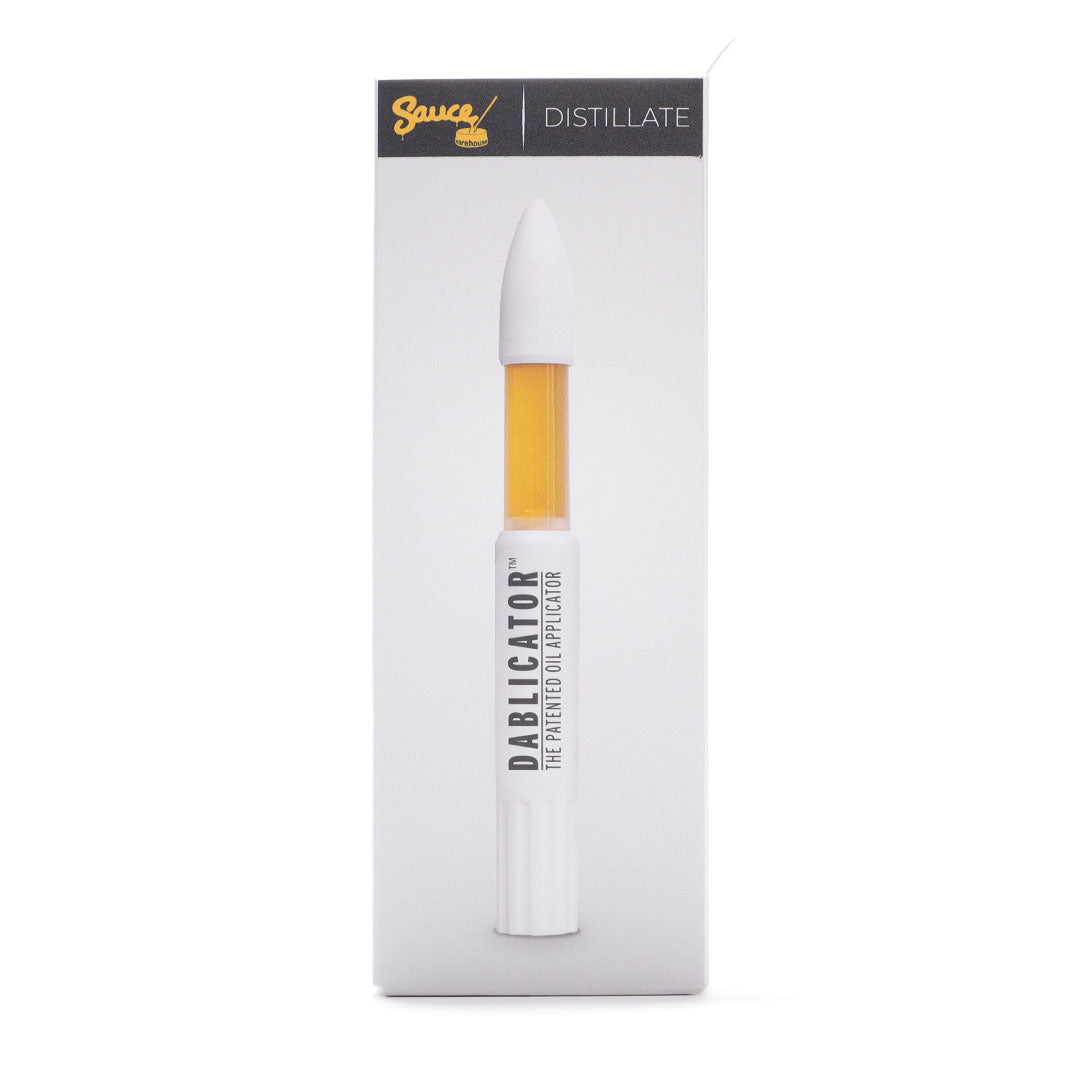
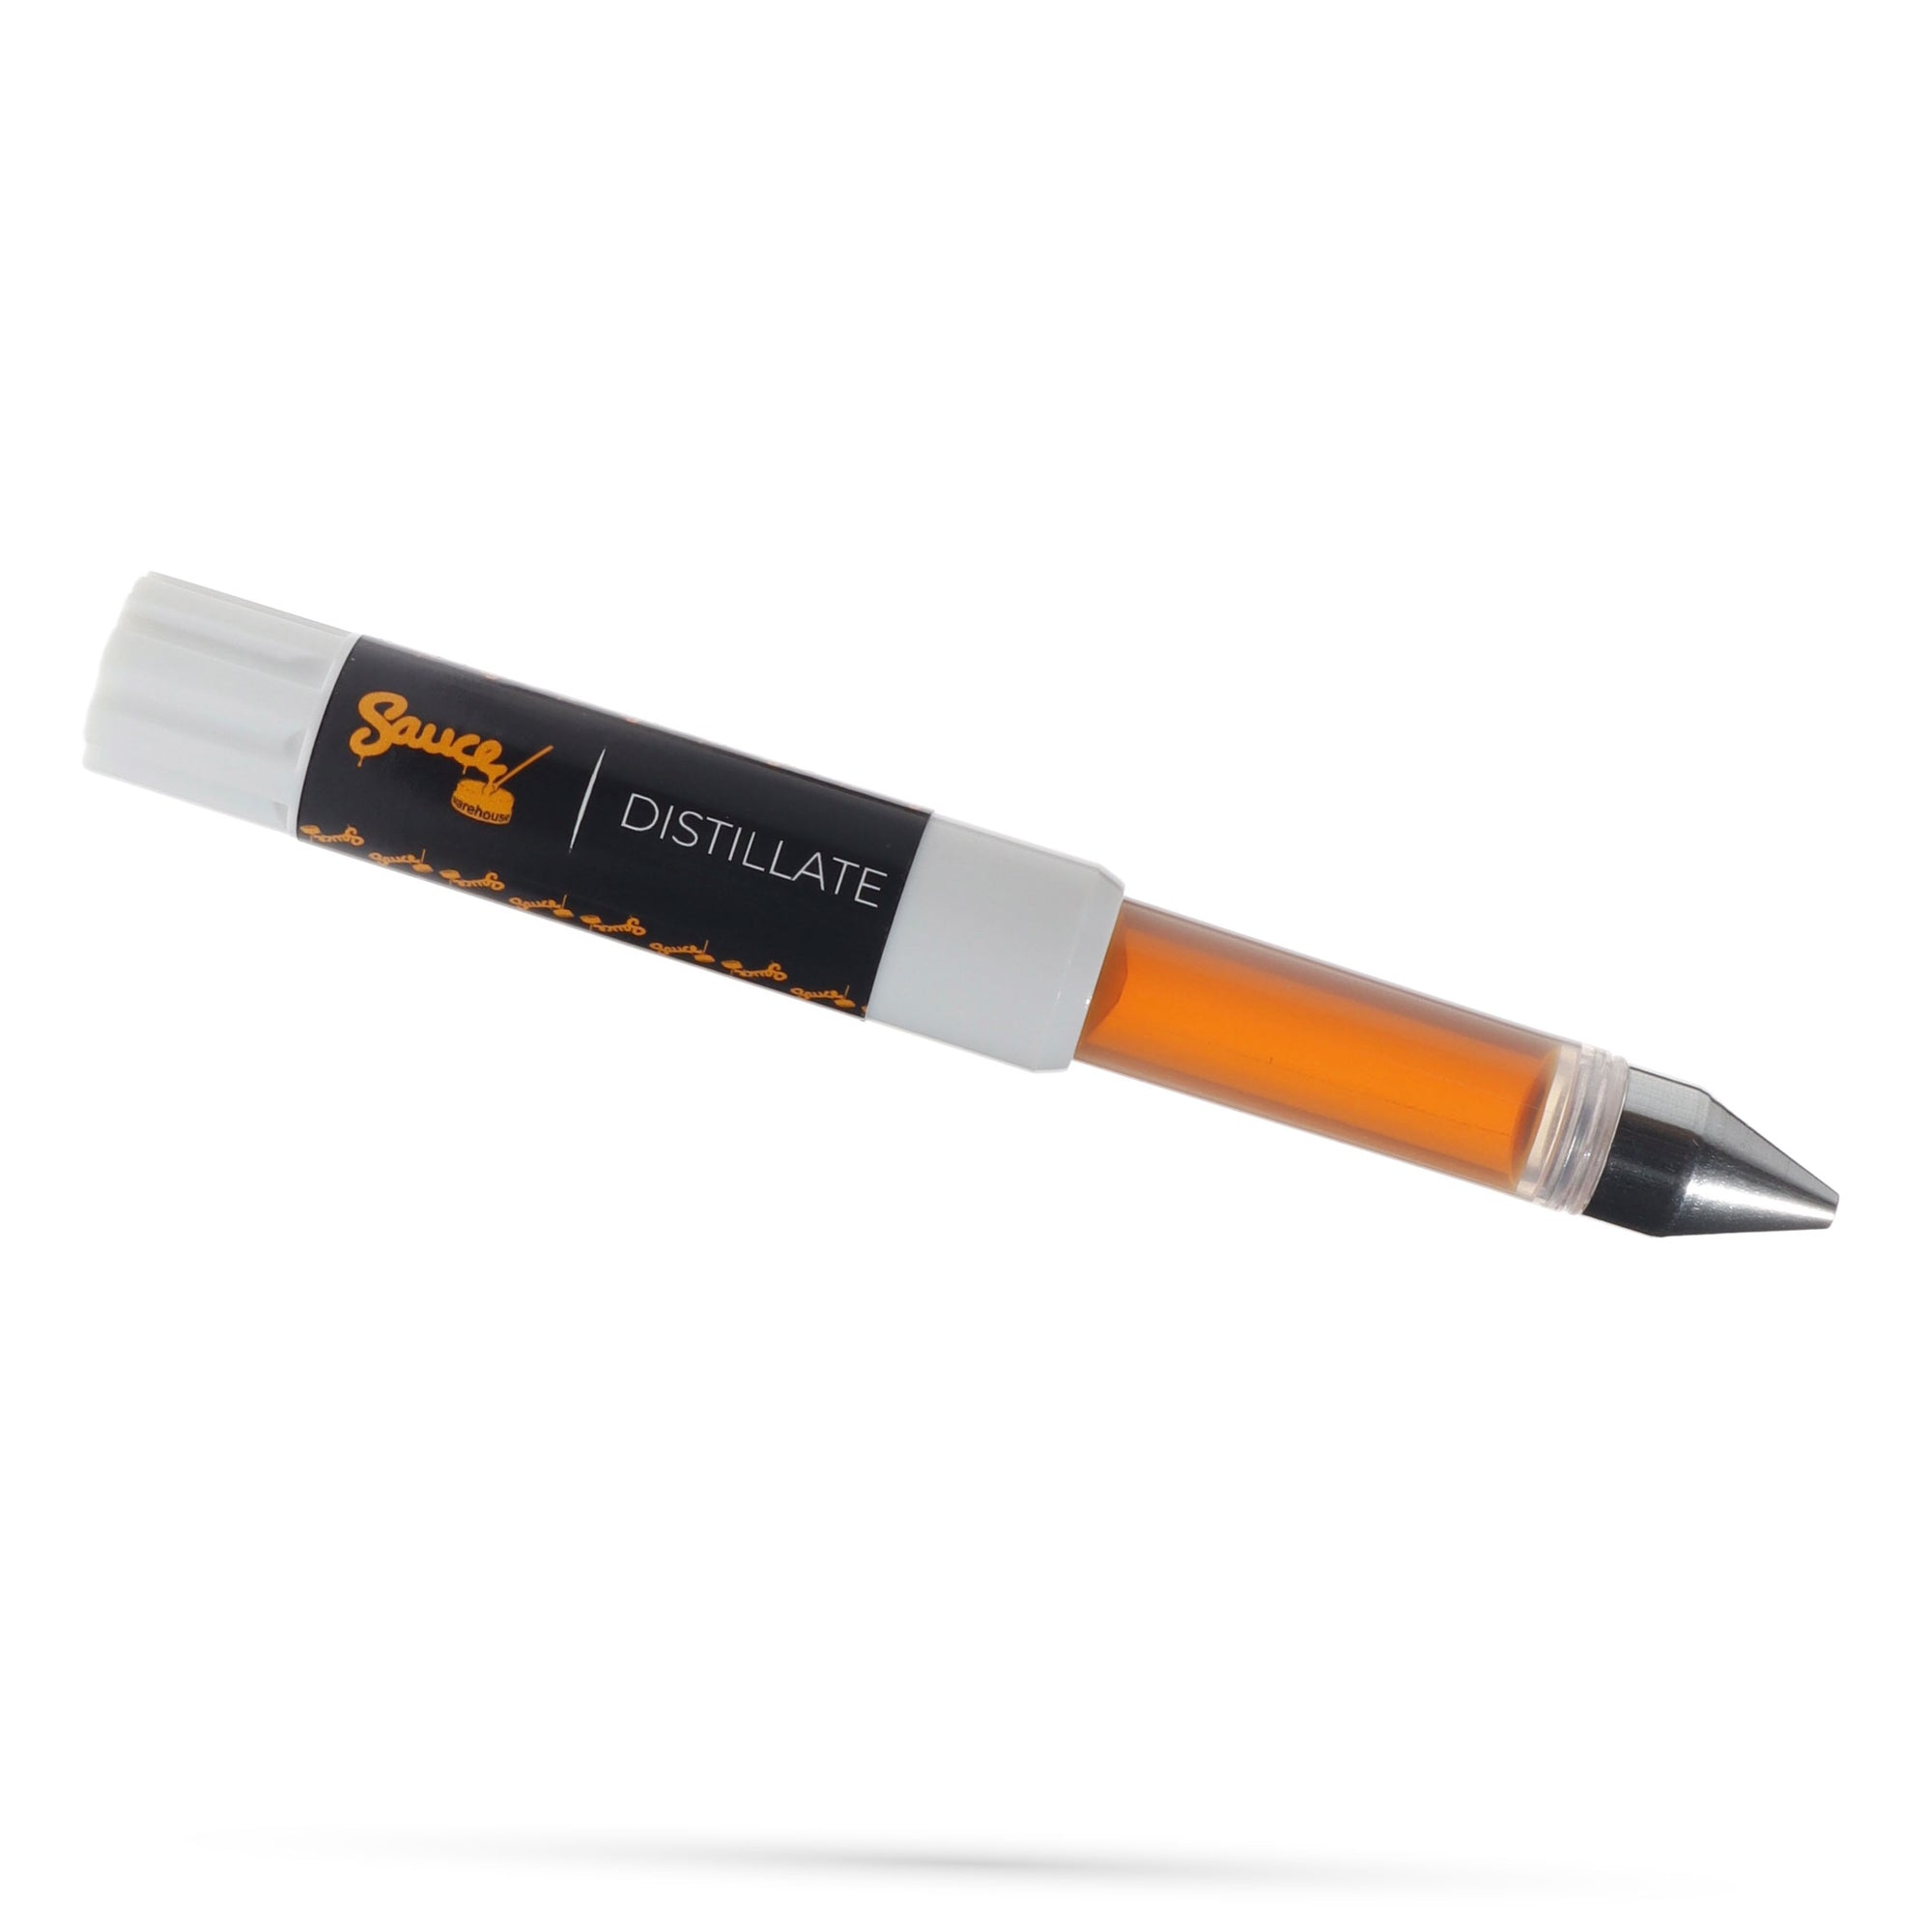
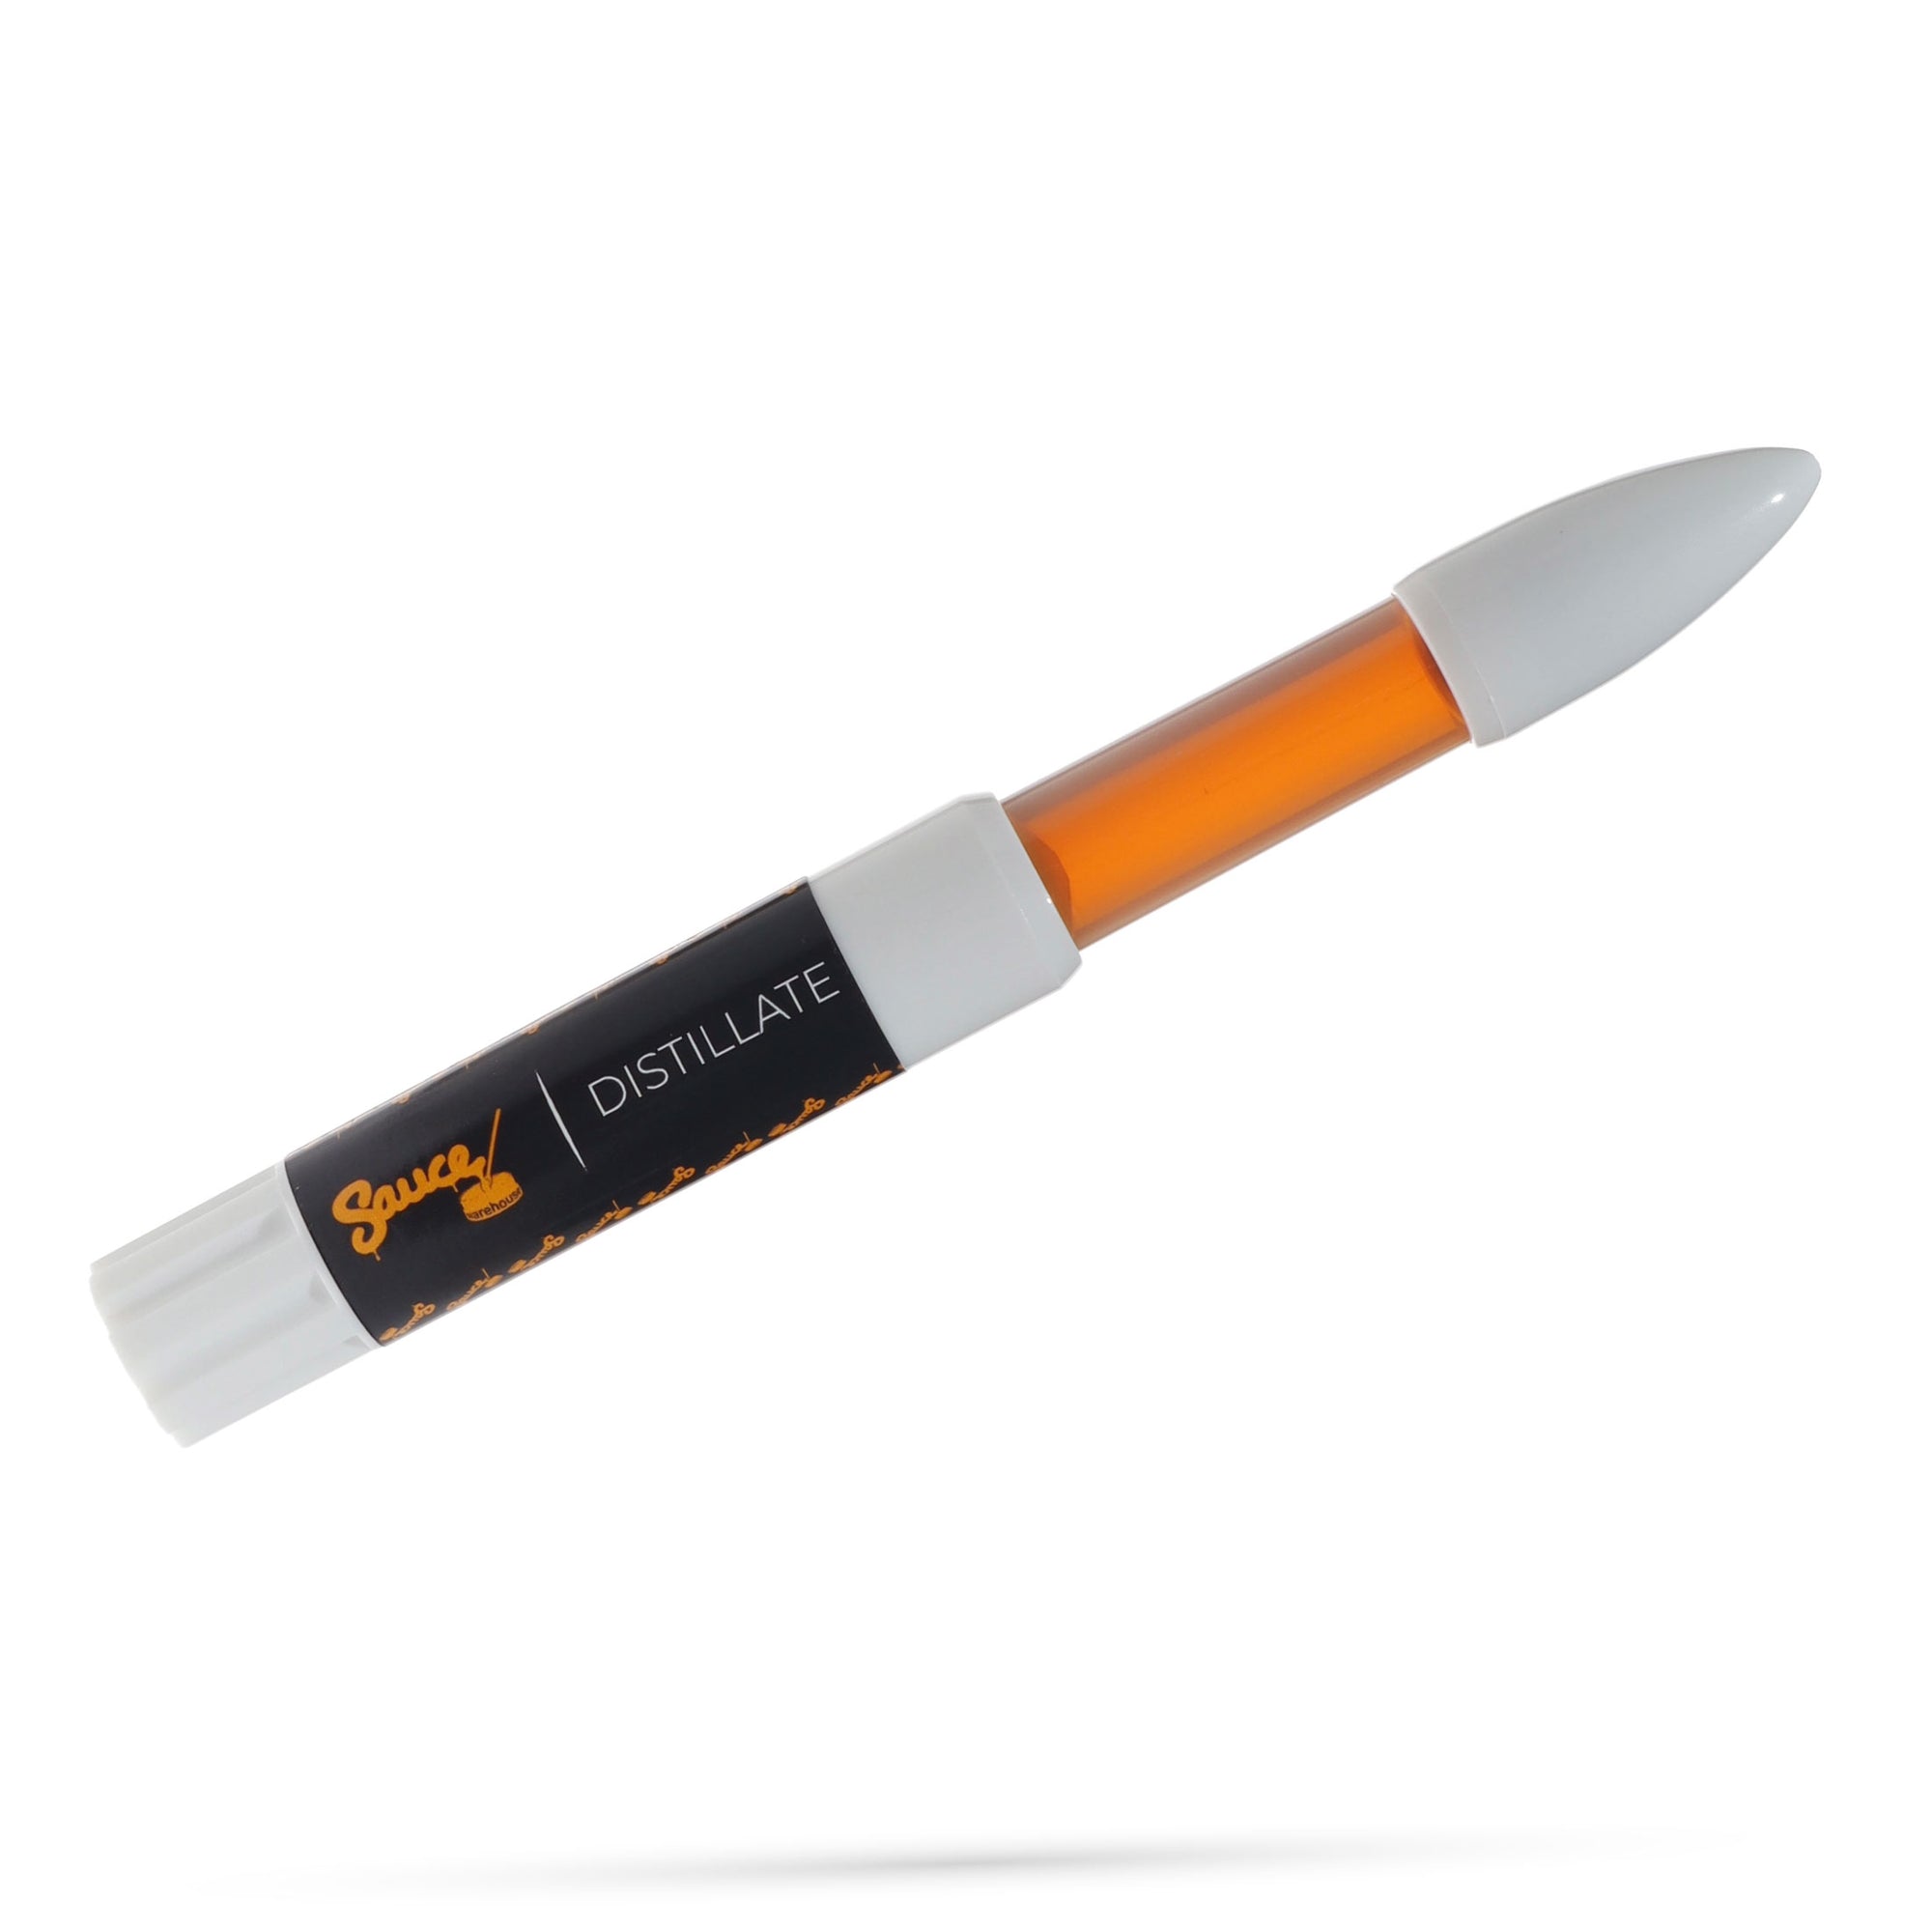
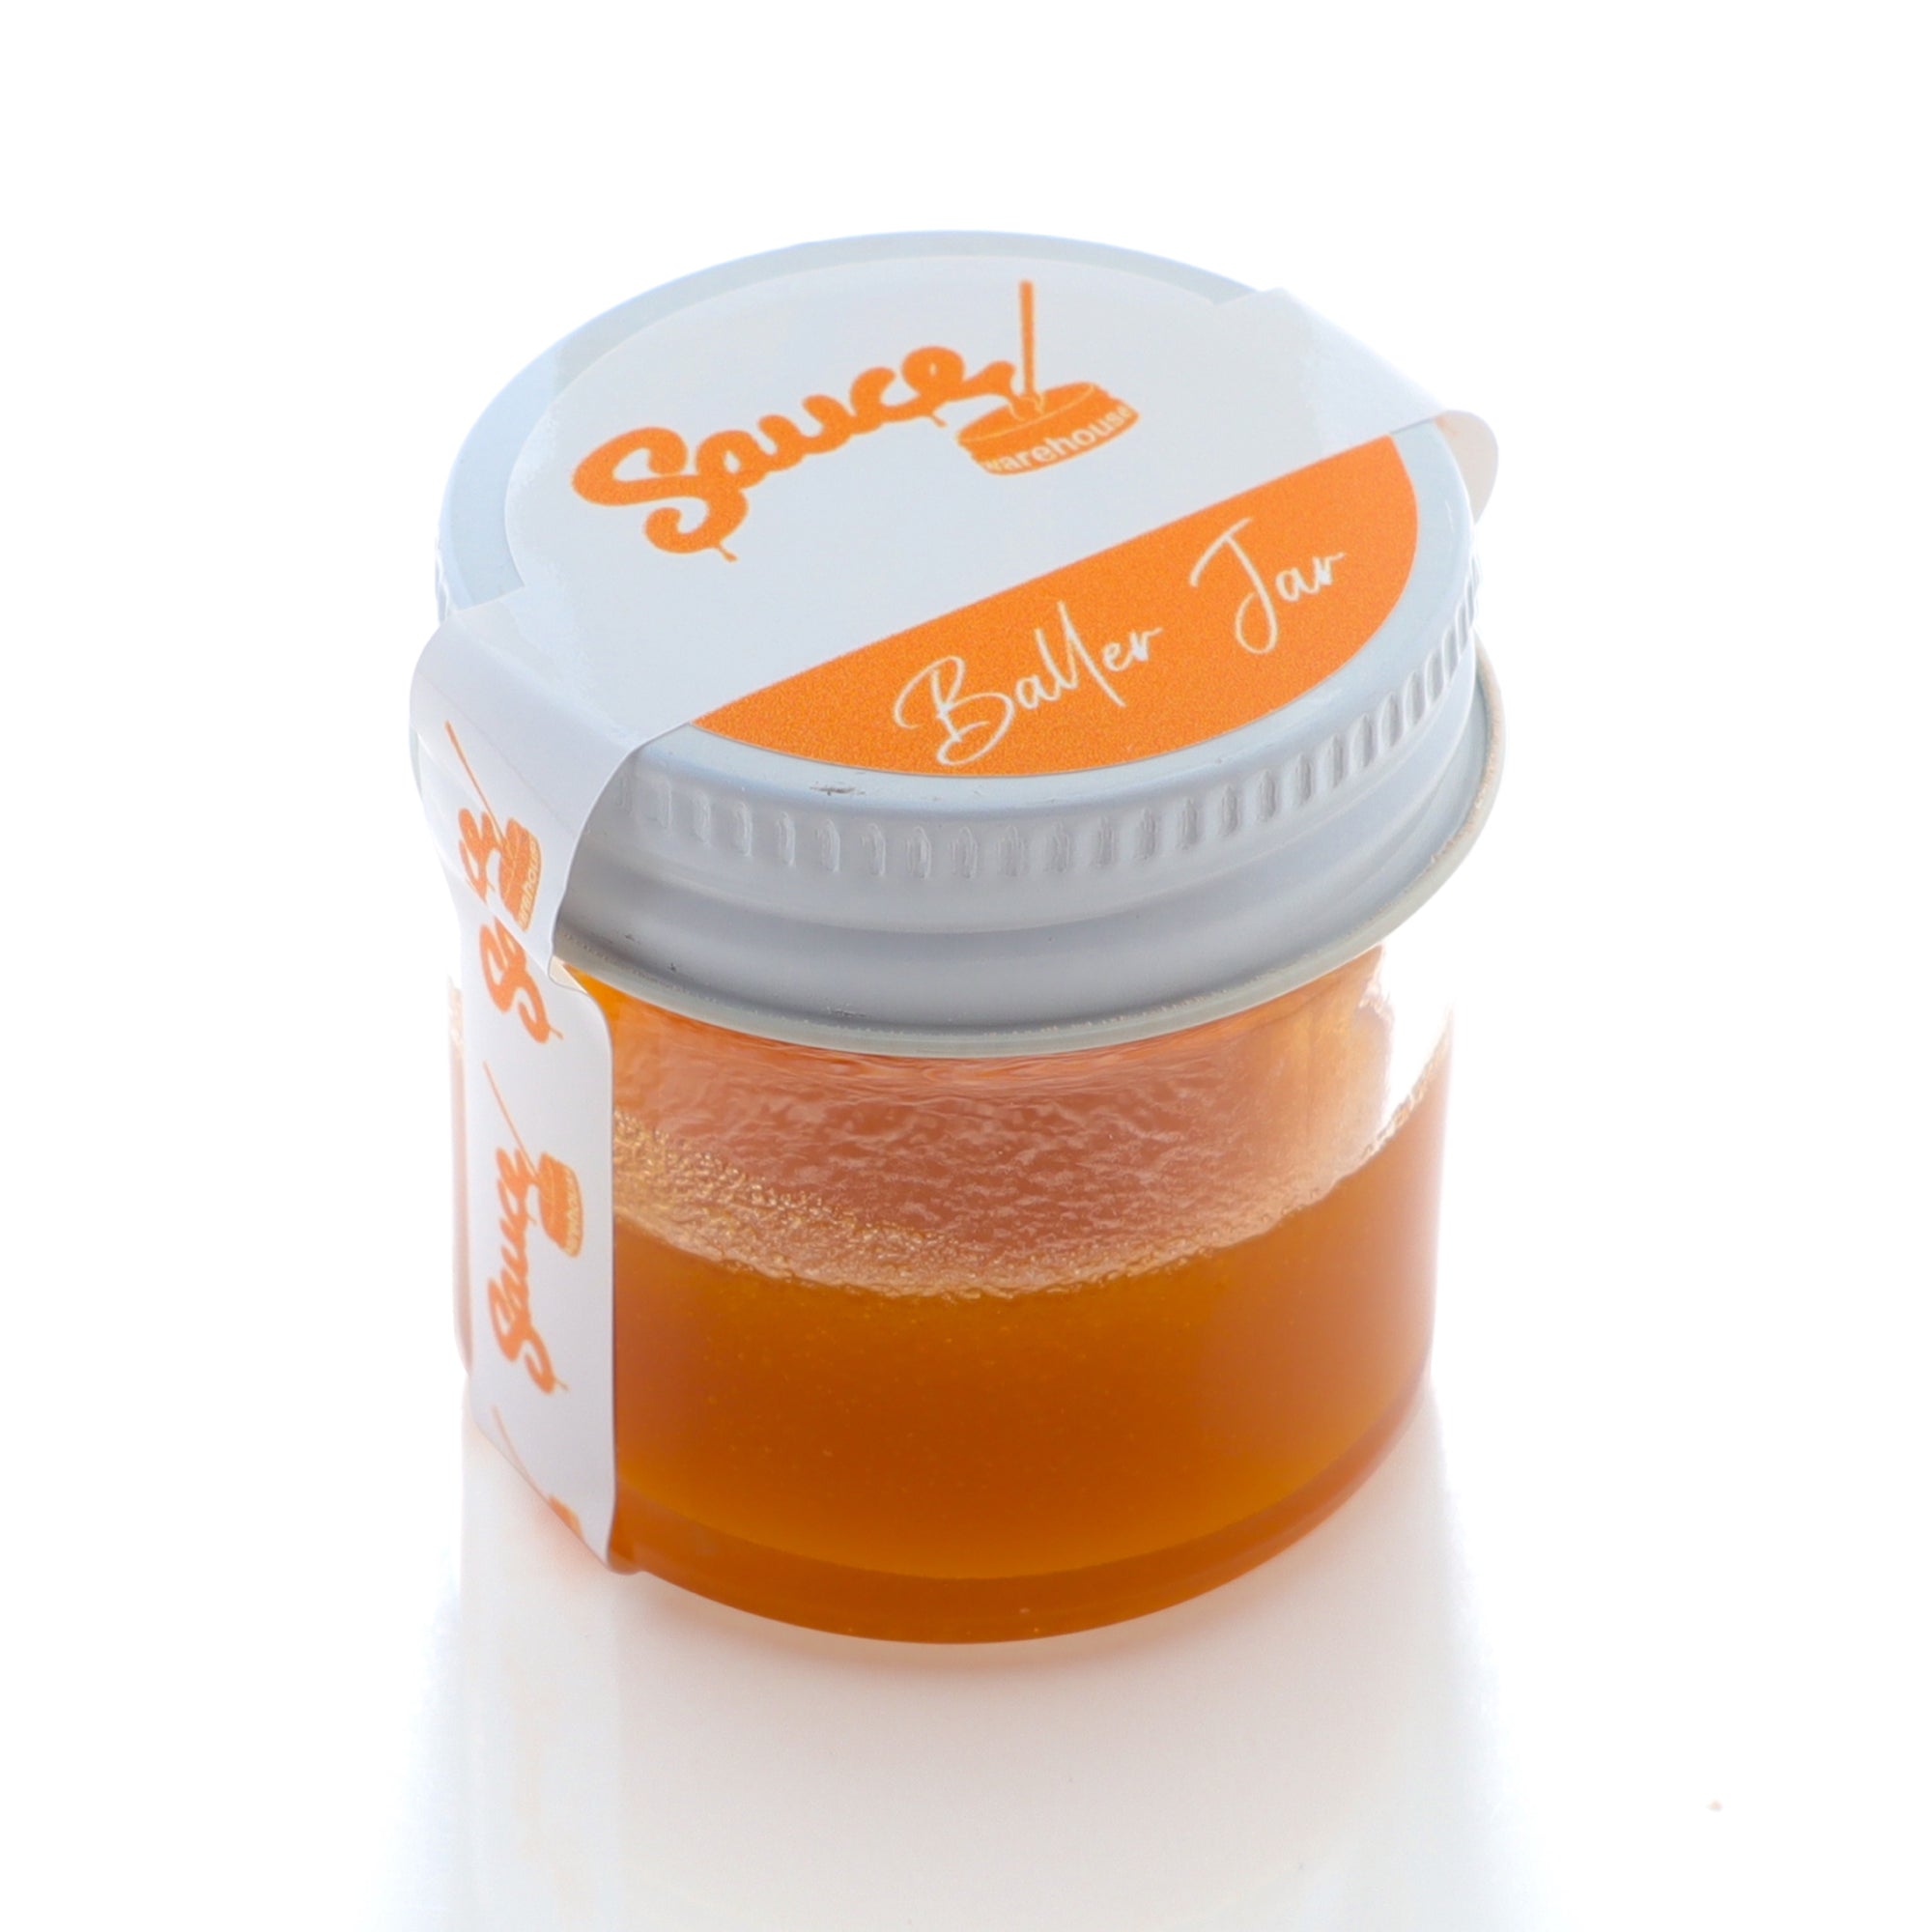
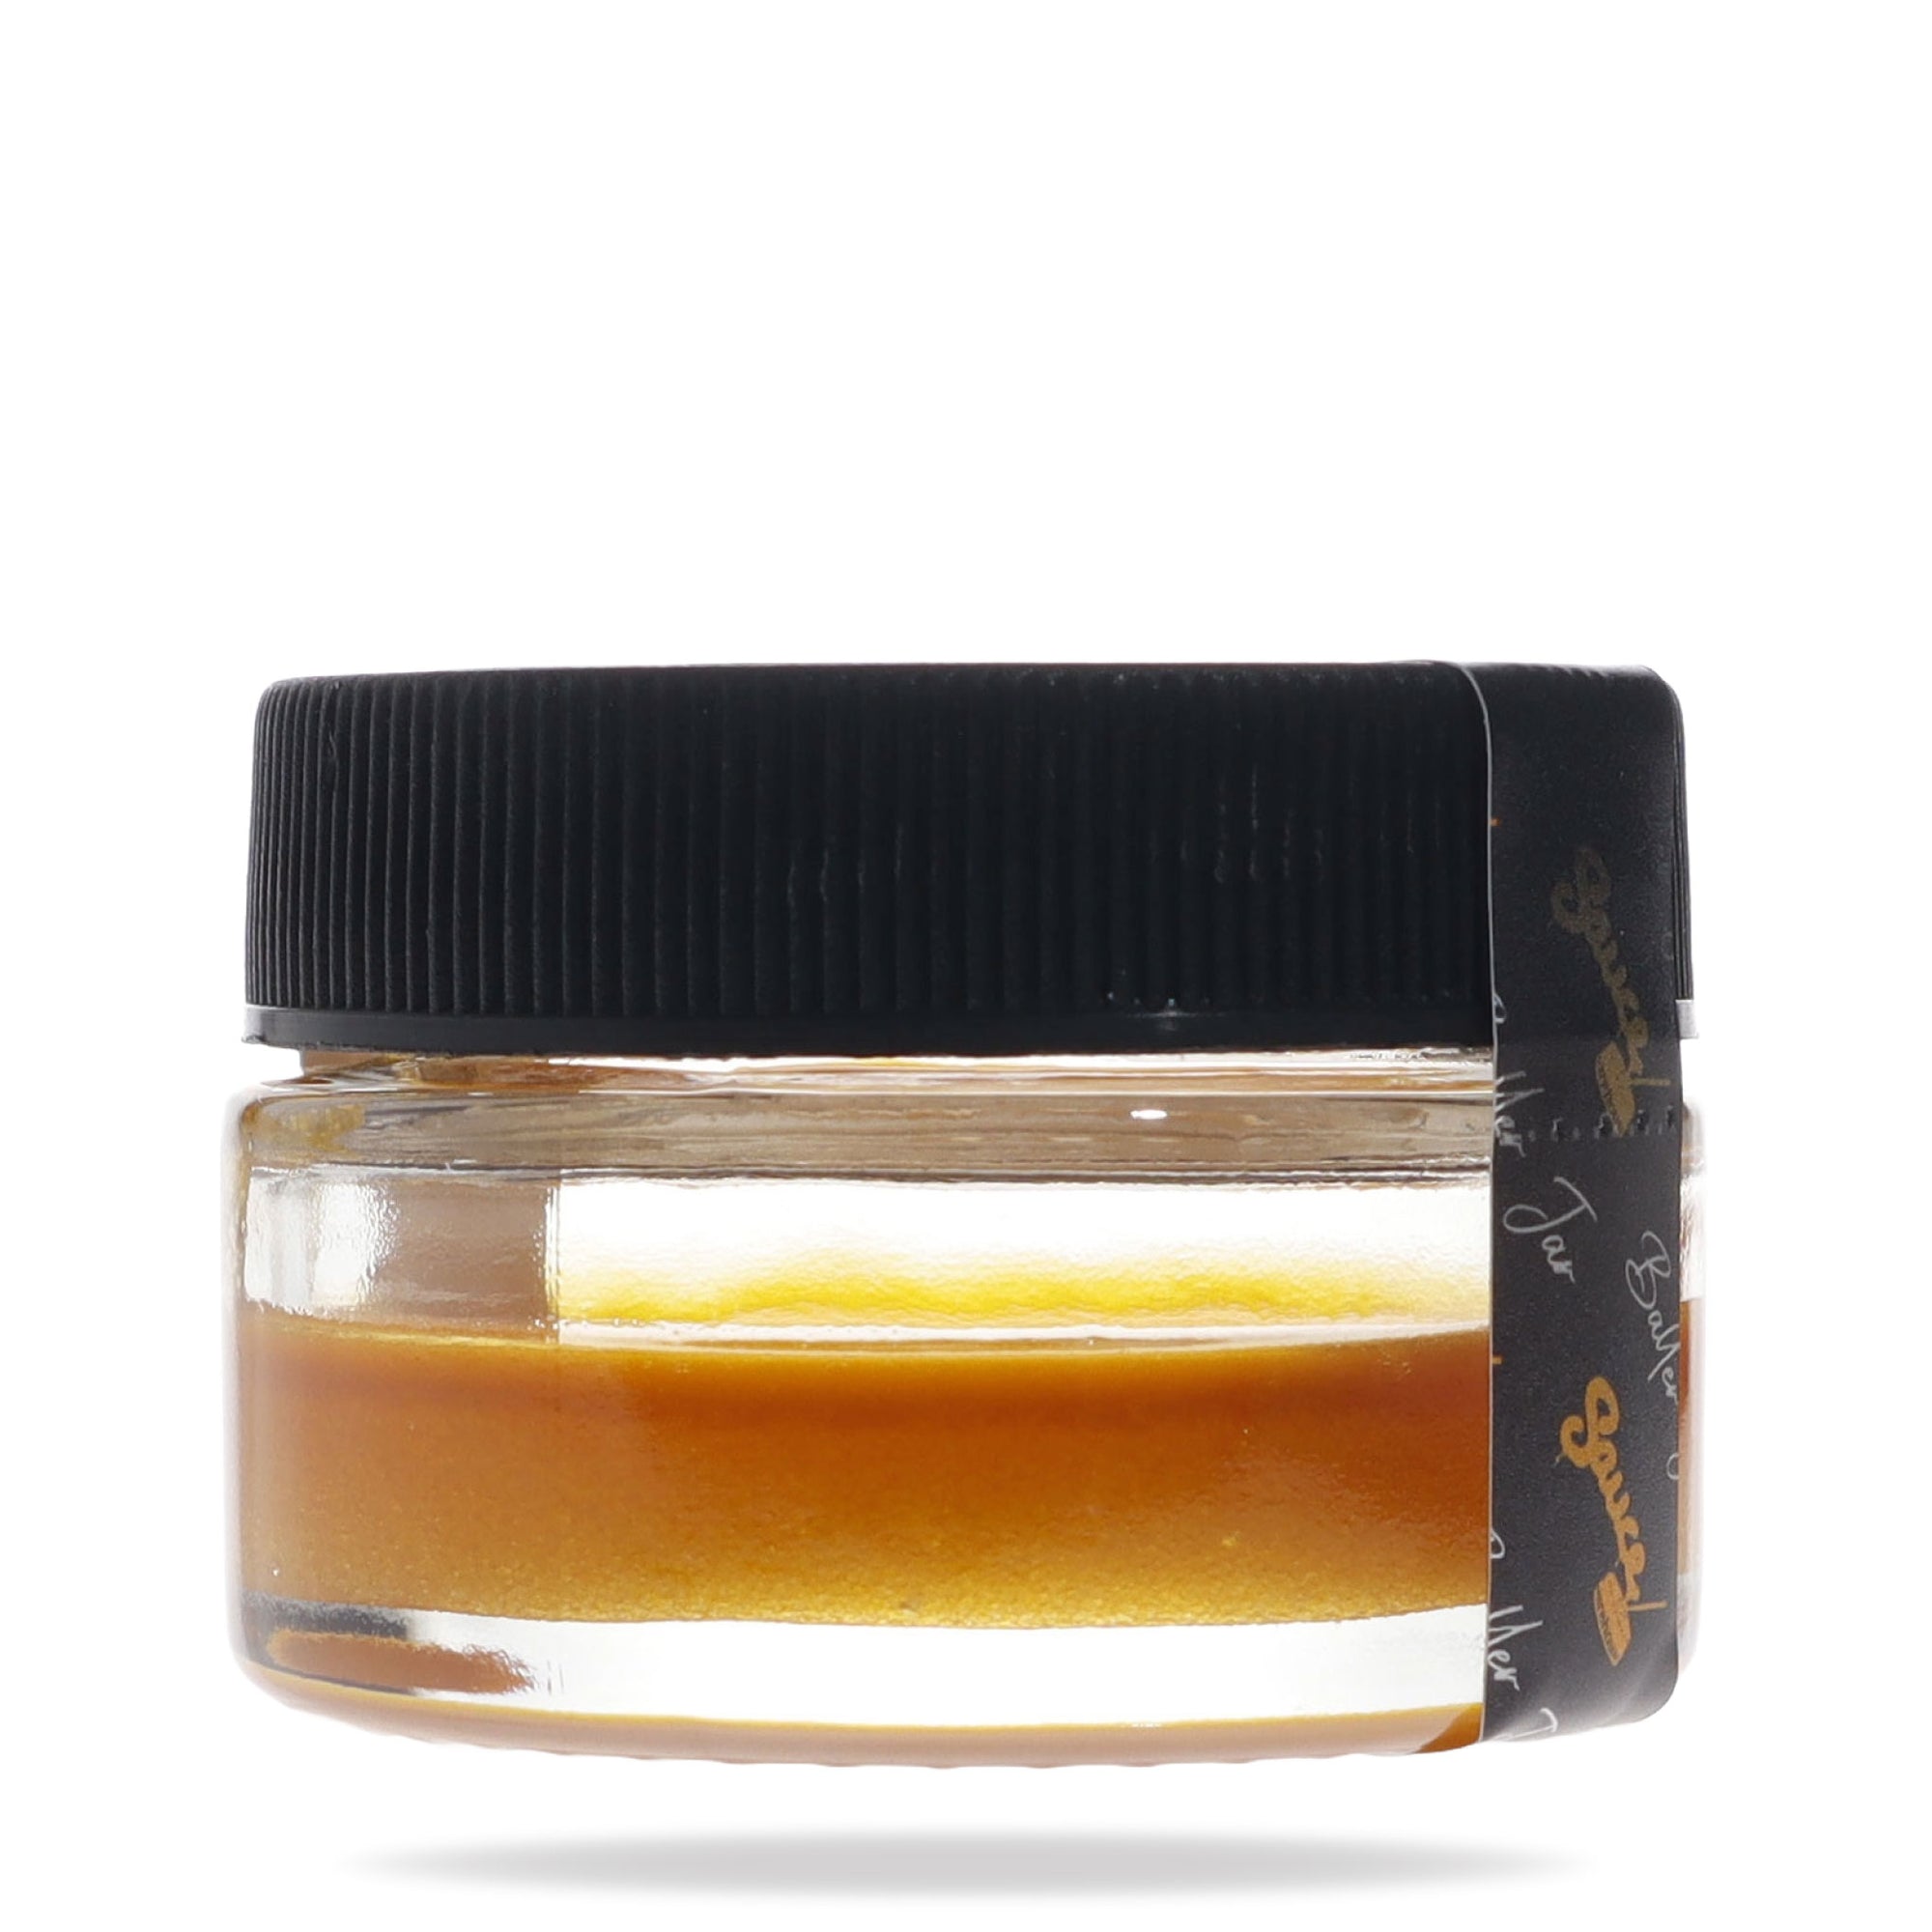
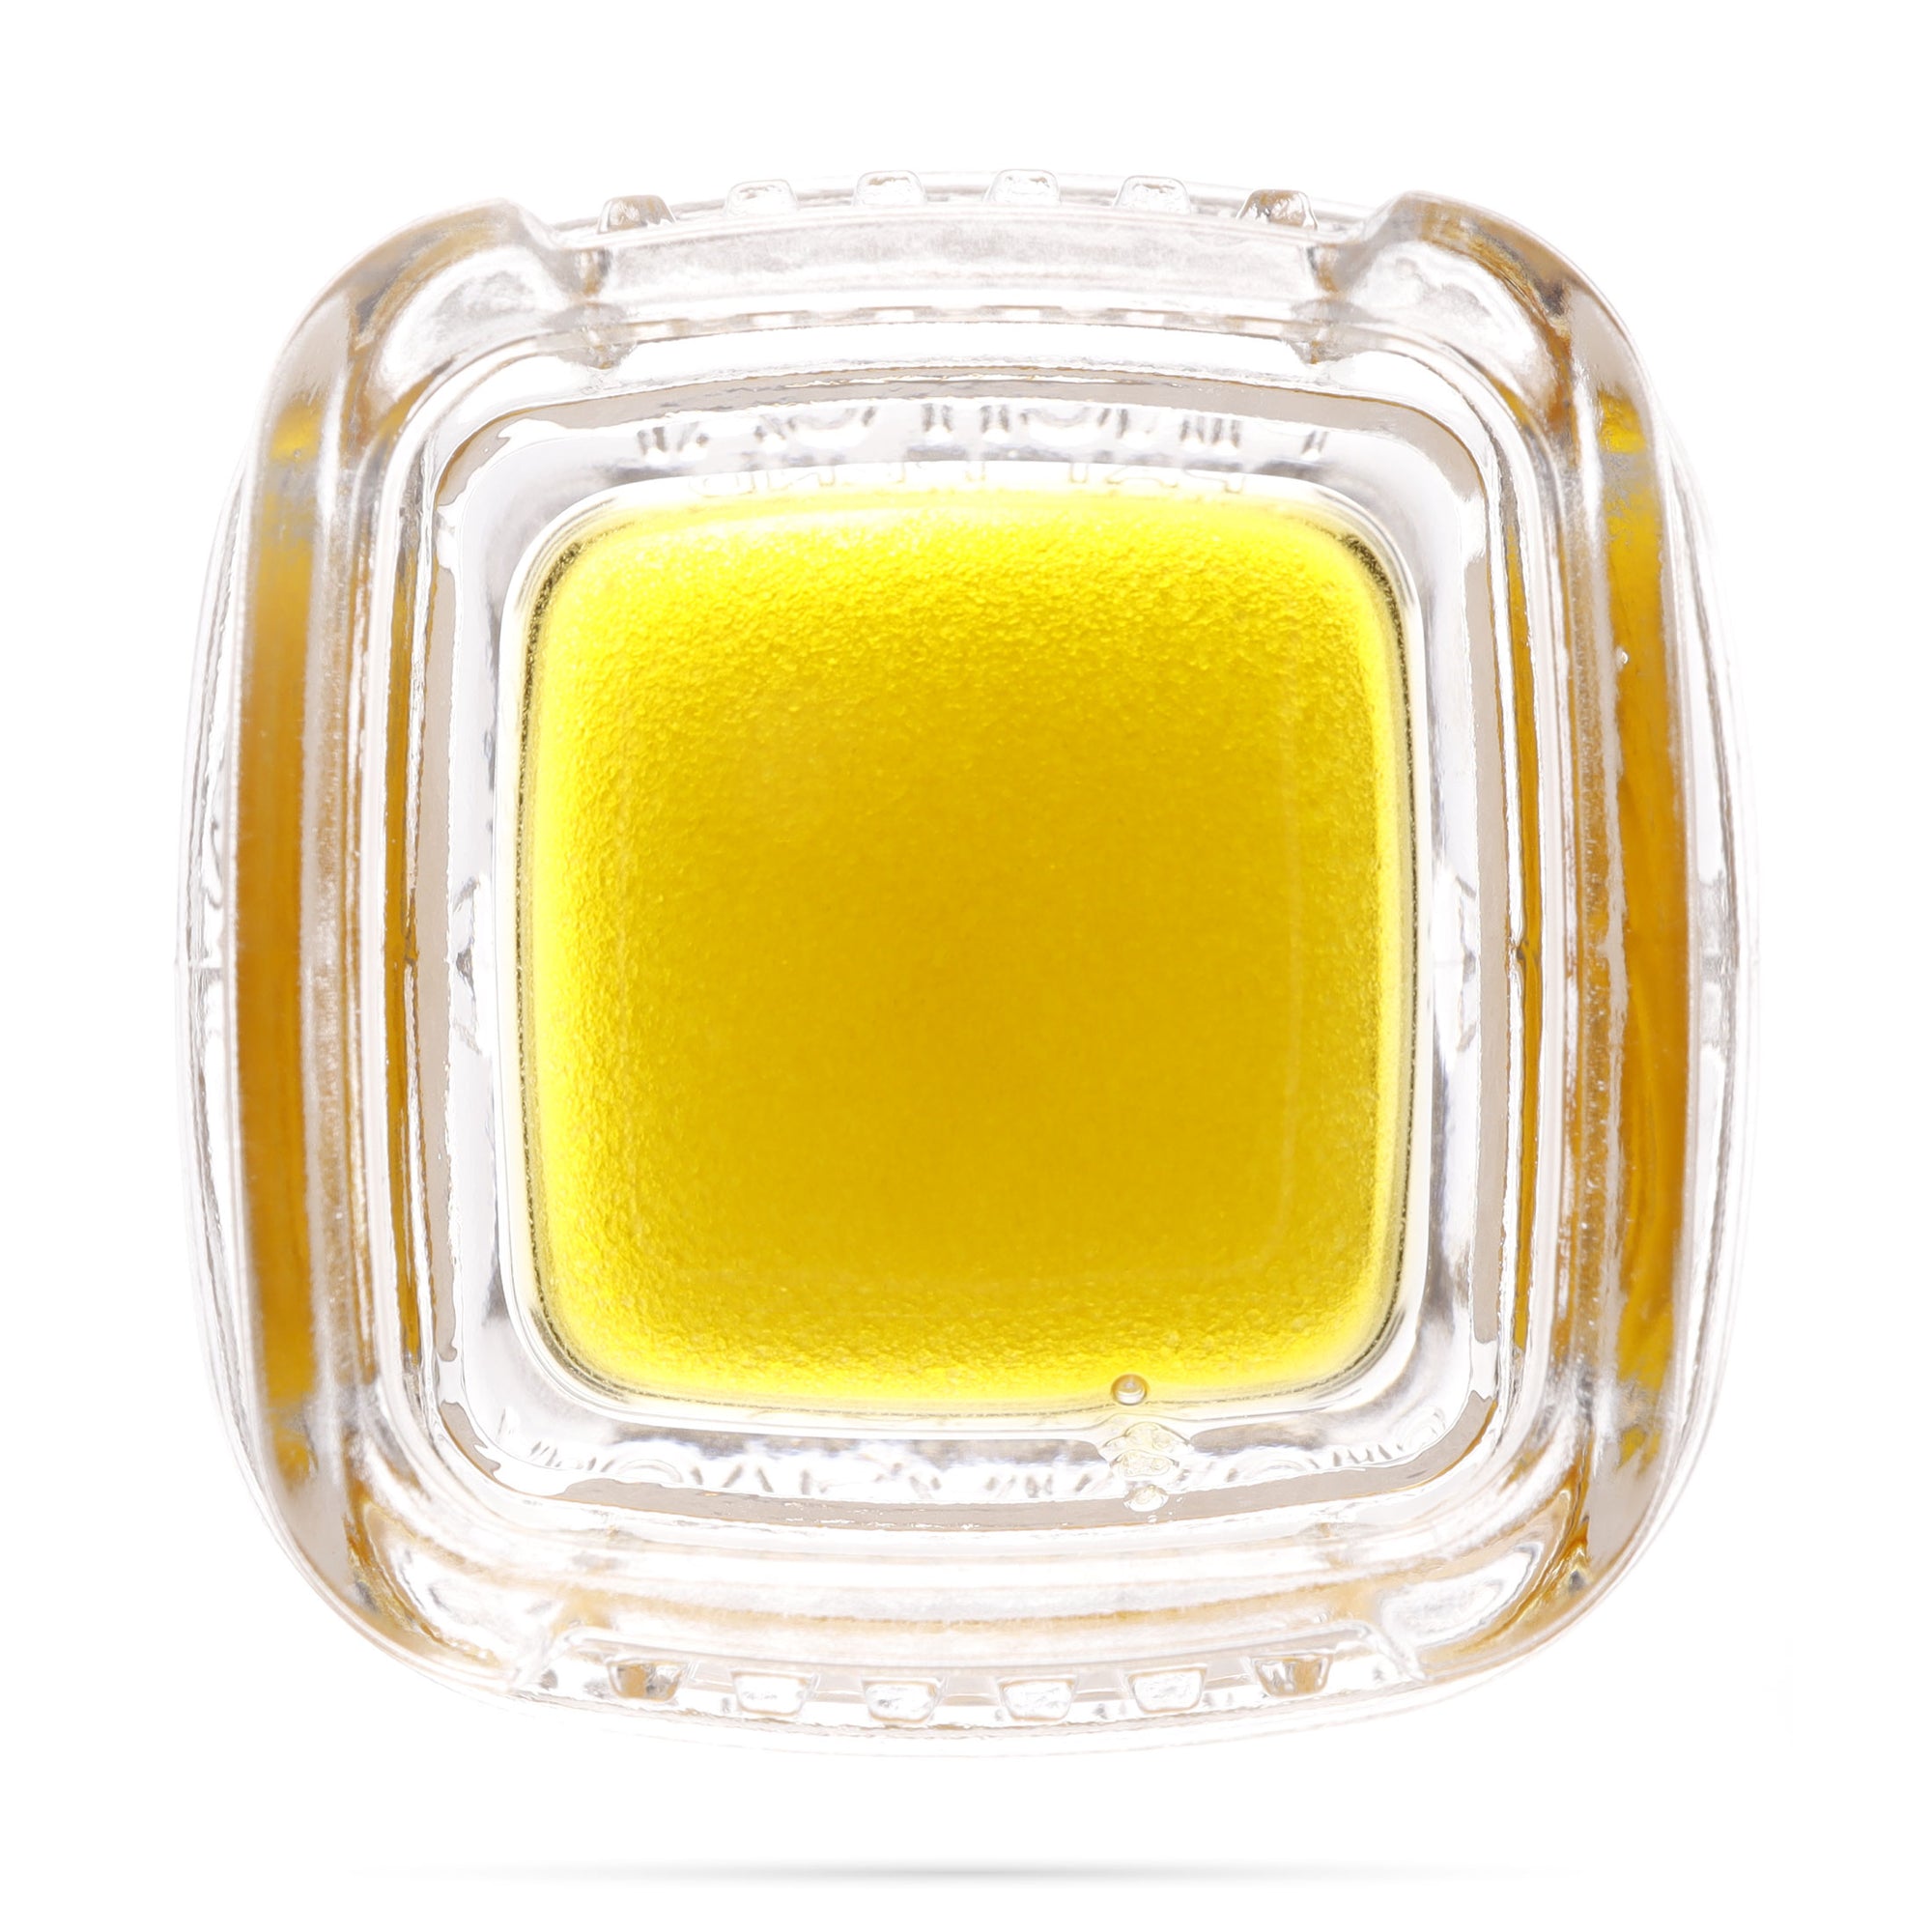
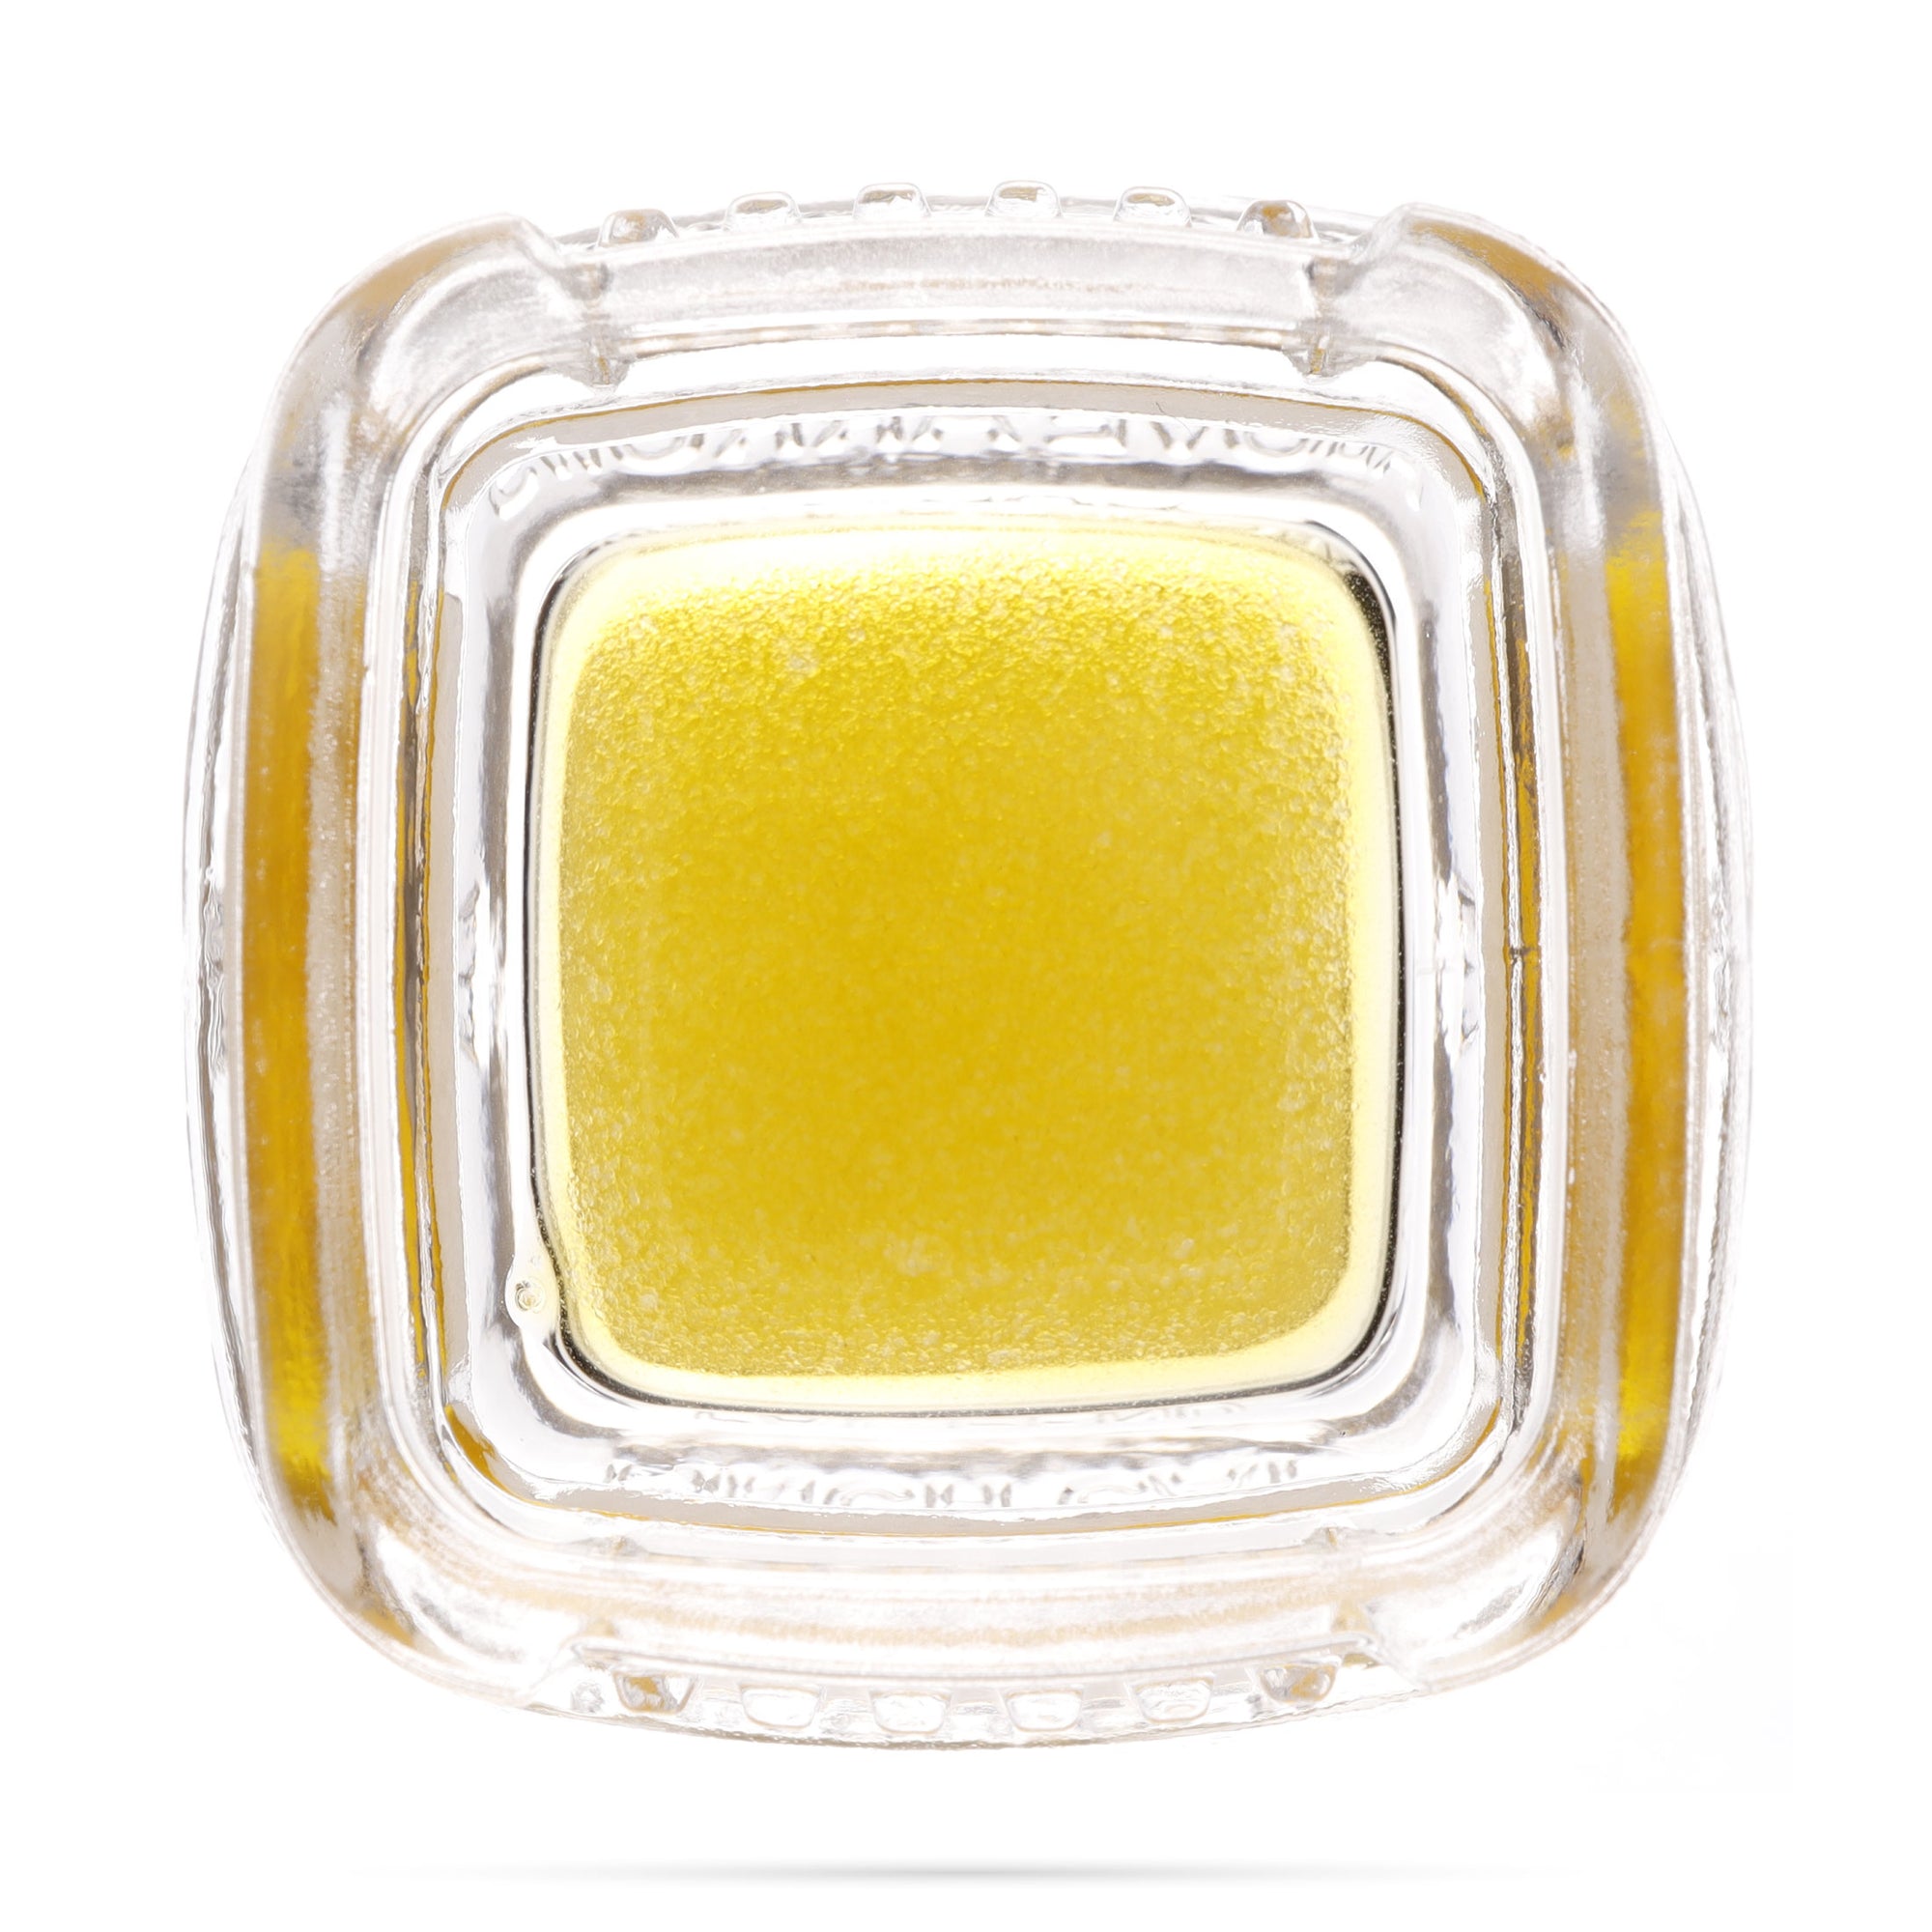
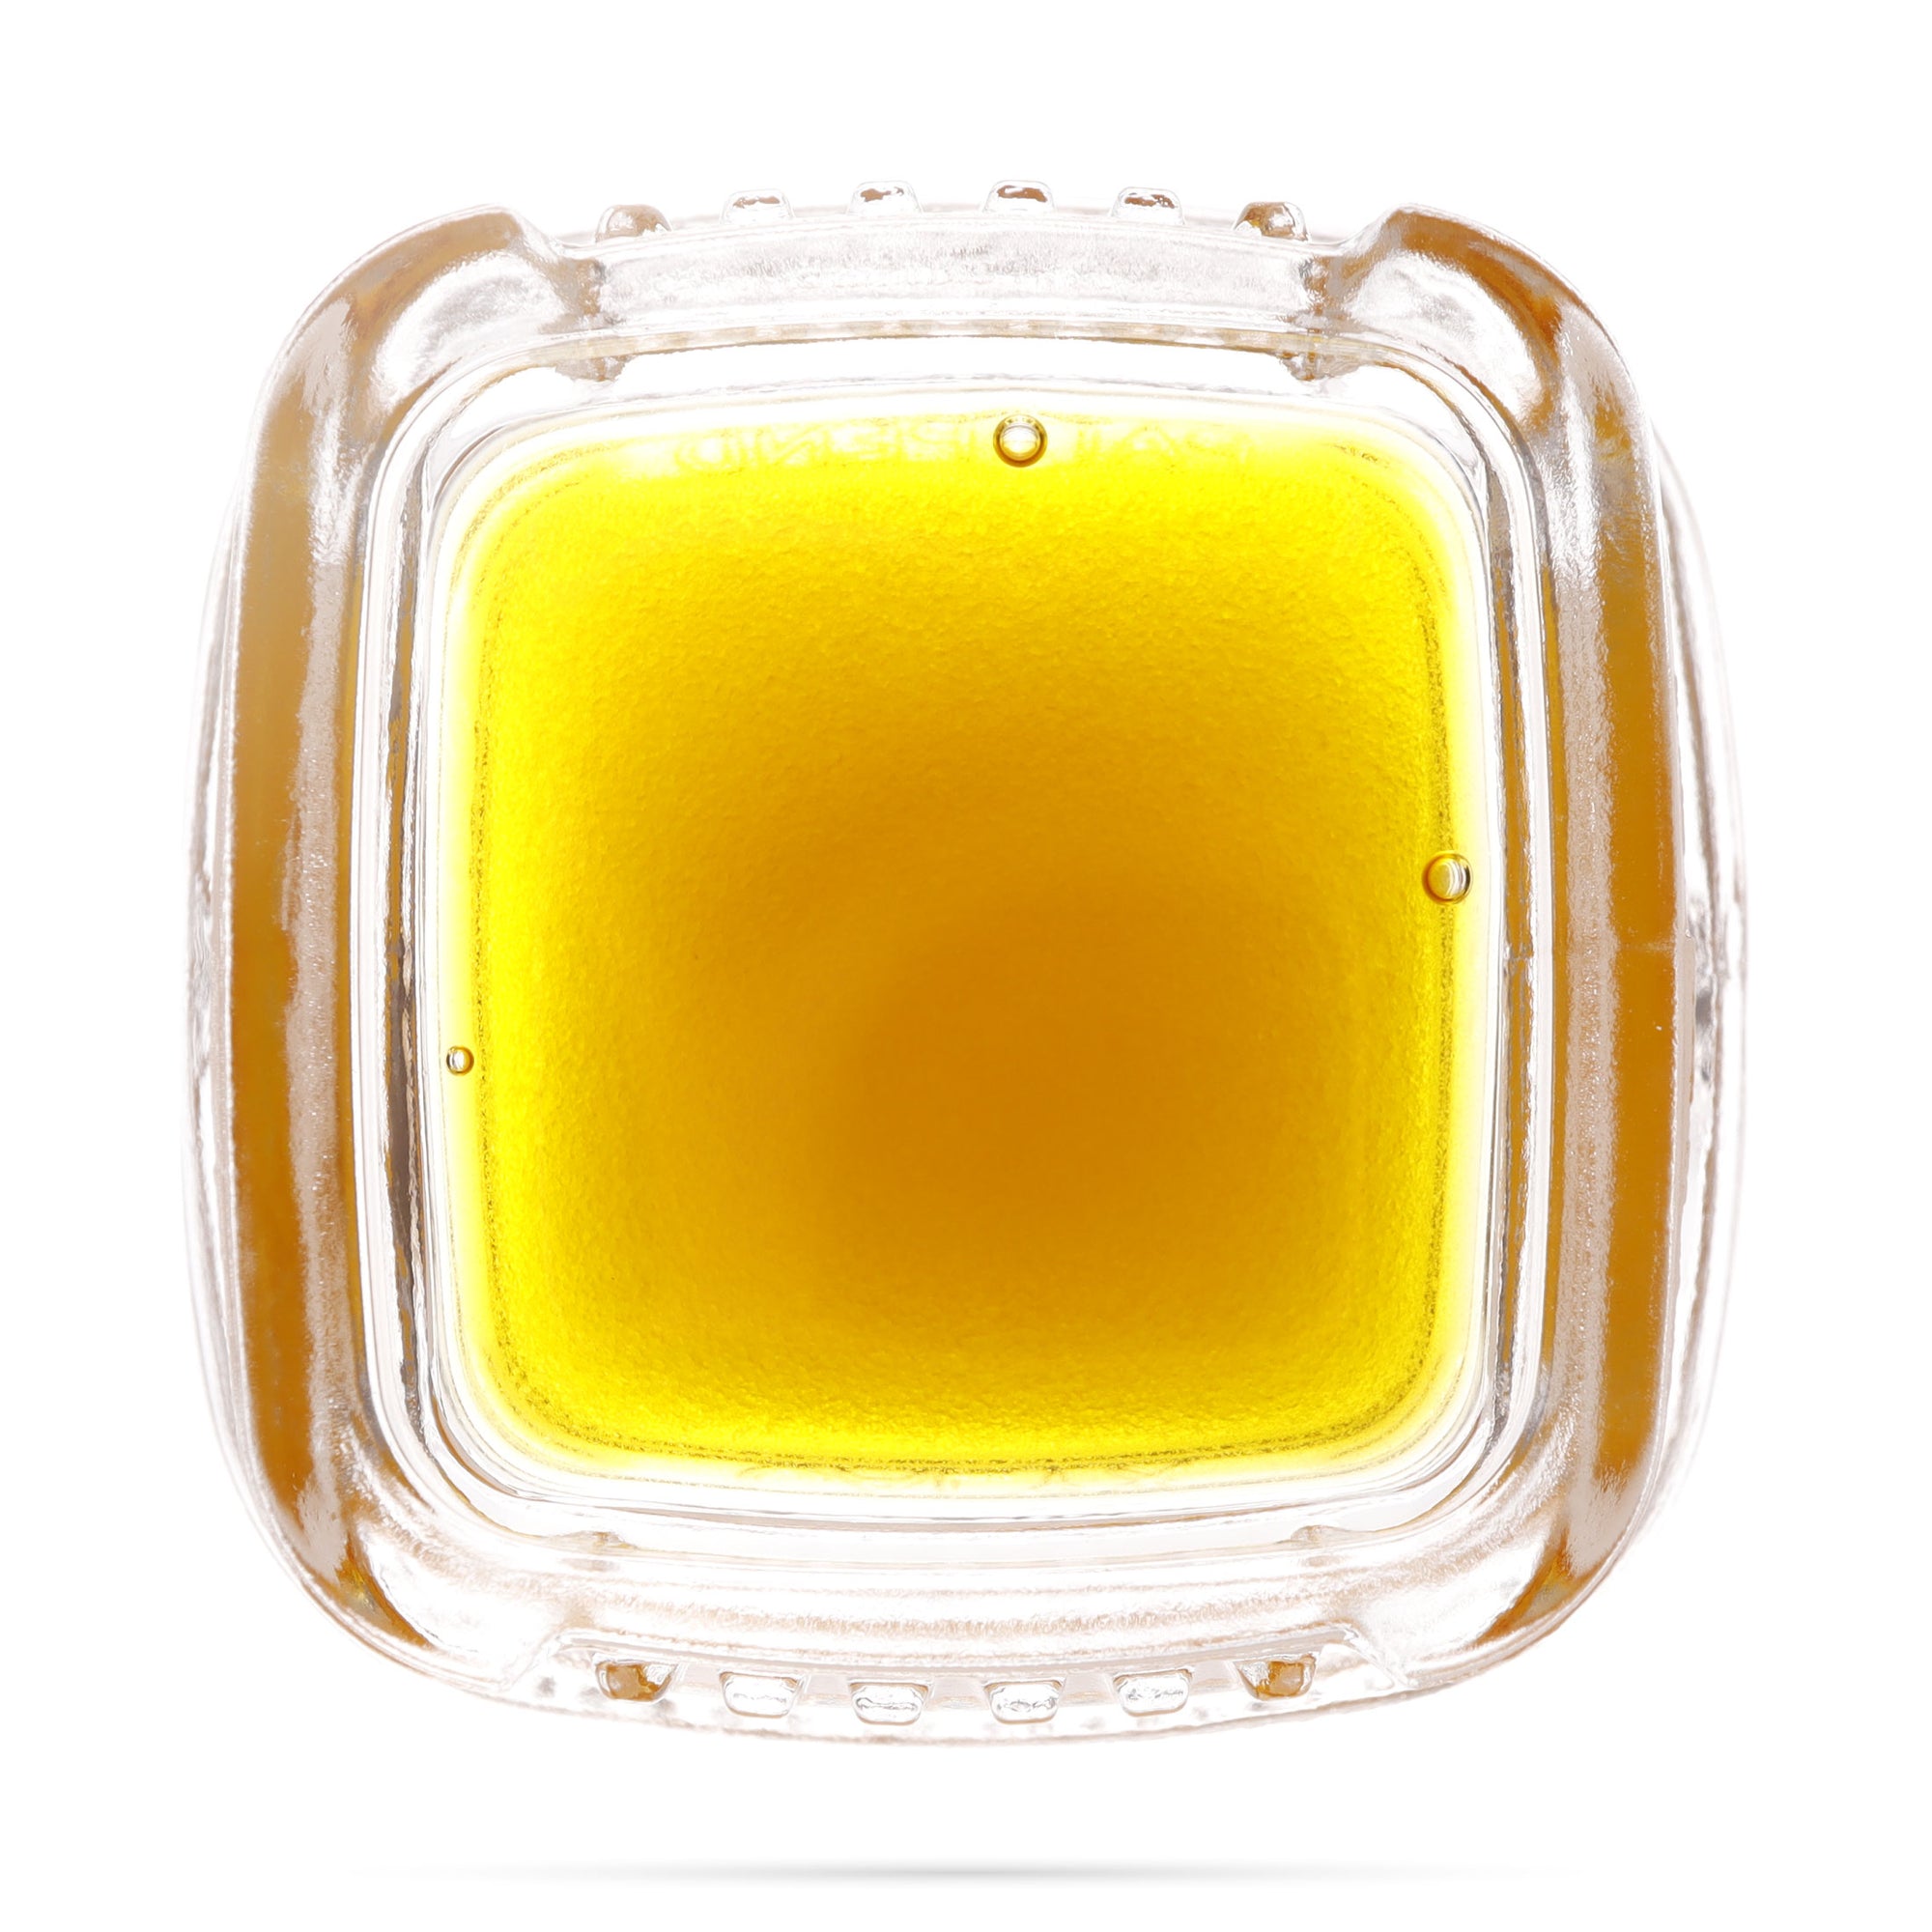
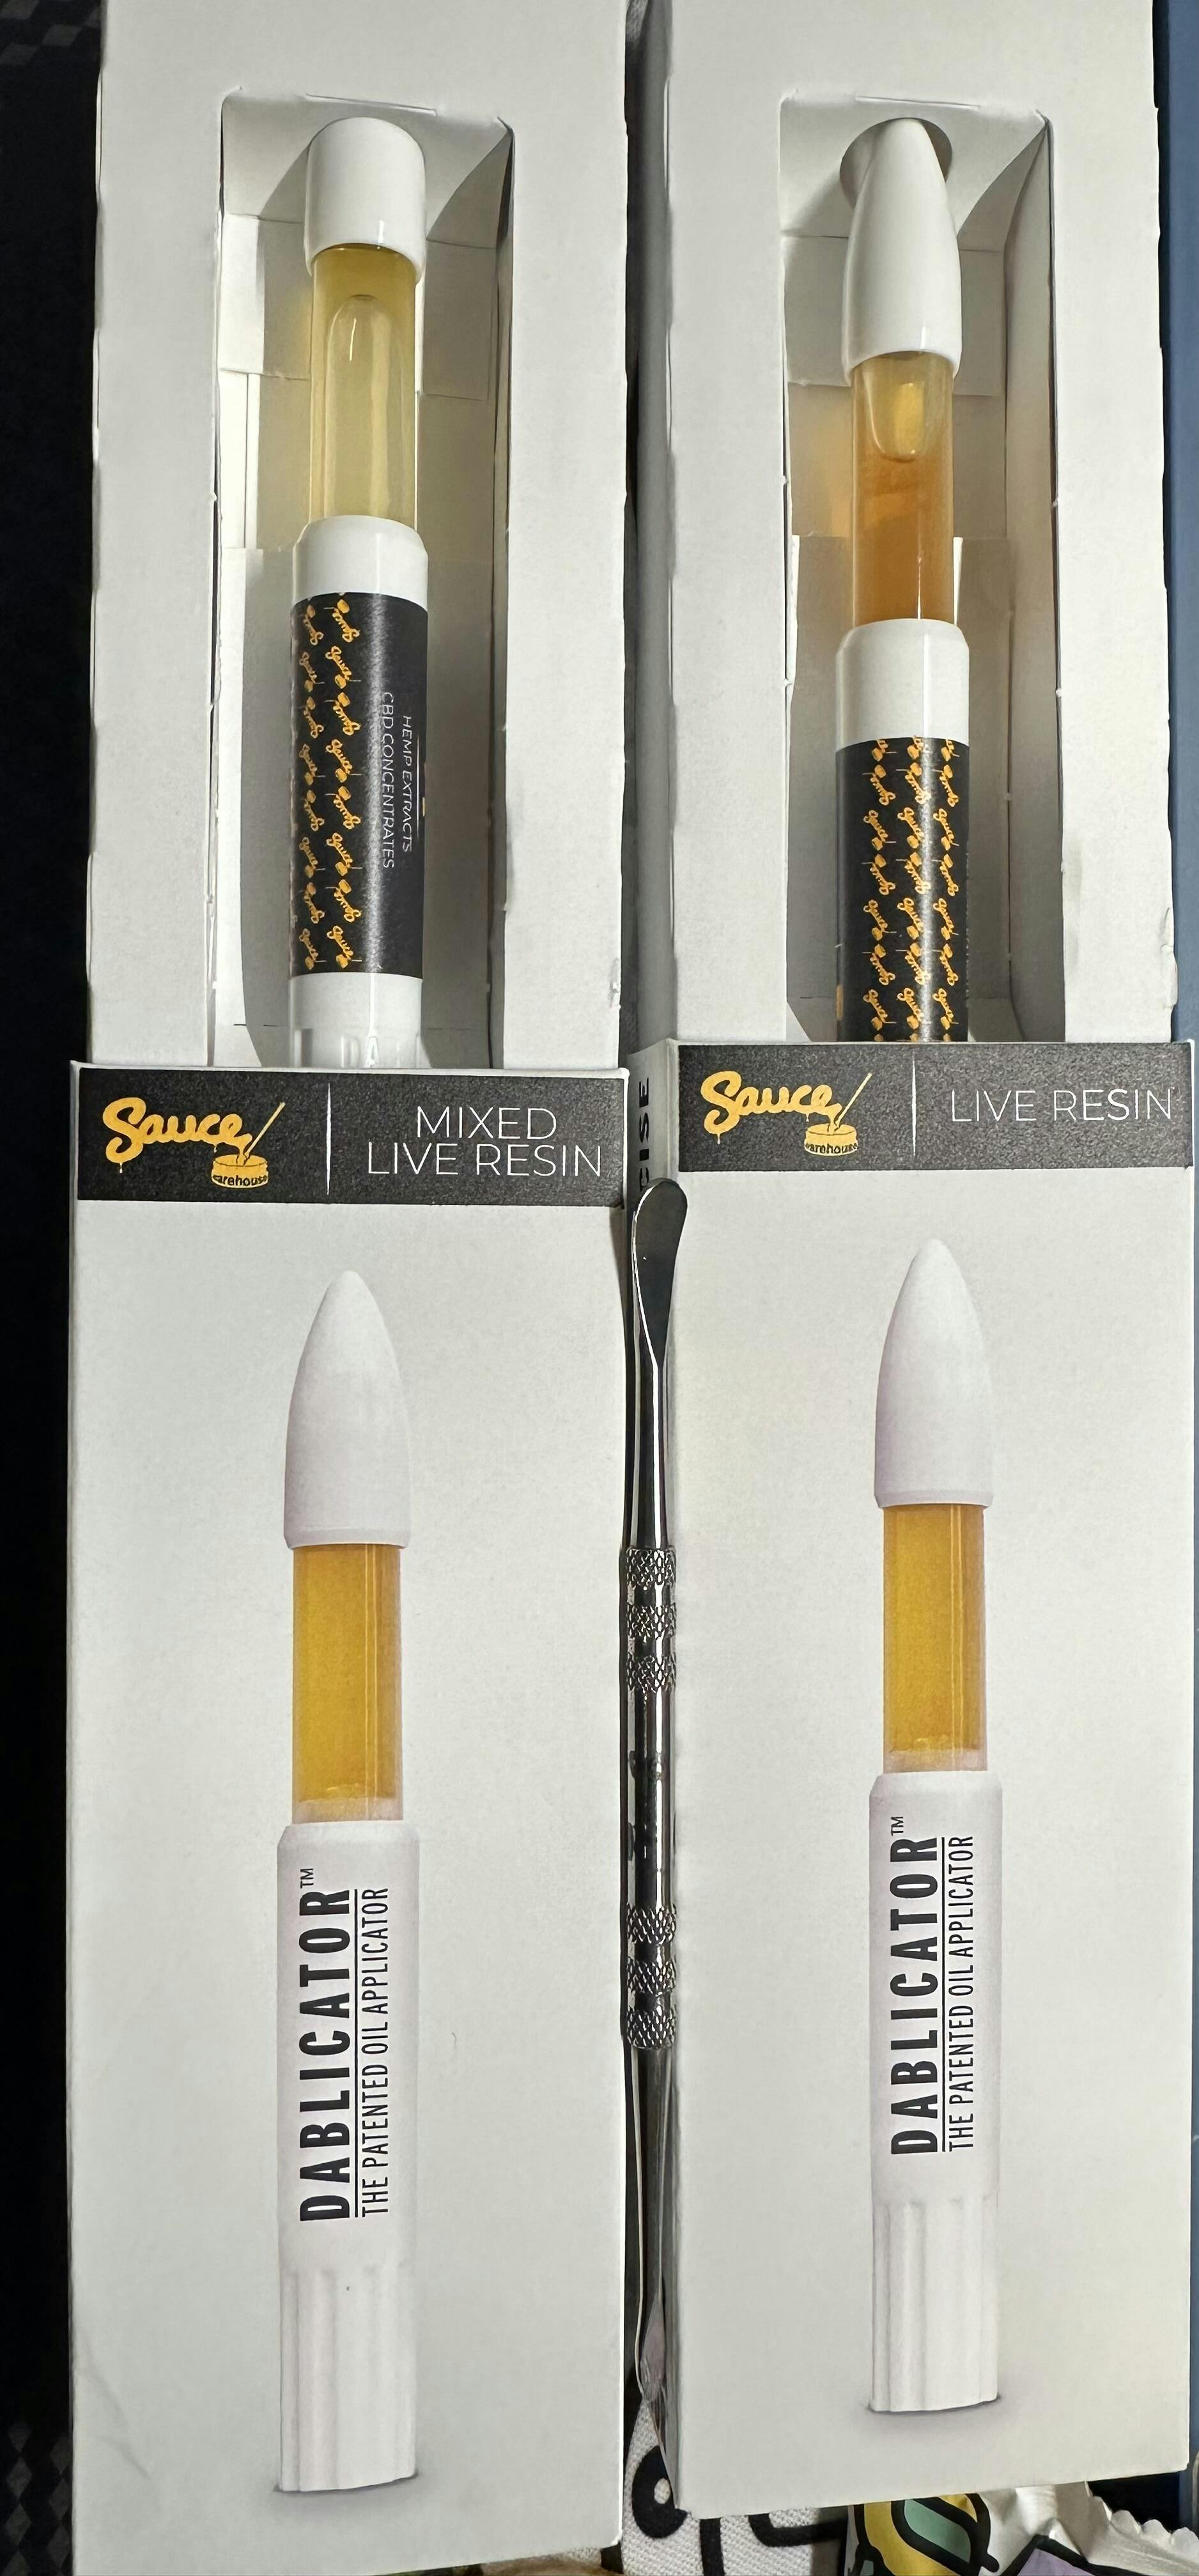
Live Resin Dablicator™

BUY MORE & SAVE
Buy two or more, save 15%
Get it - (USPS Ground Advant.)

Get it - (USPS Priority)
Get it - (UPS Ground)

Get it - (UPS Next Day)

Please Note: Estimates may vary. Report Error
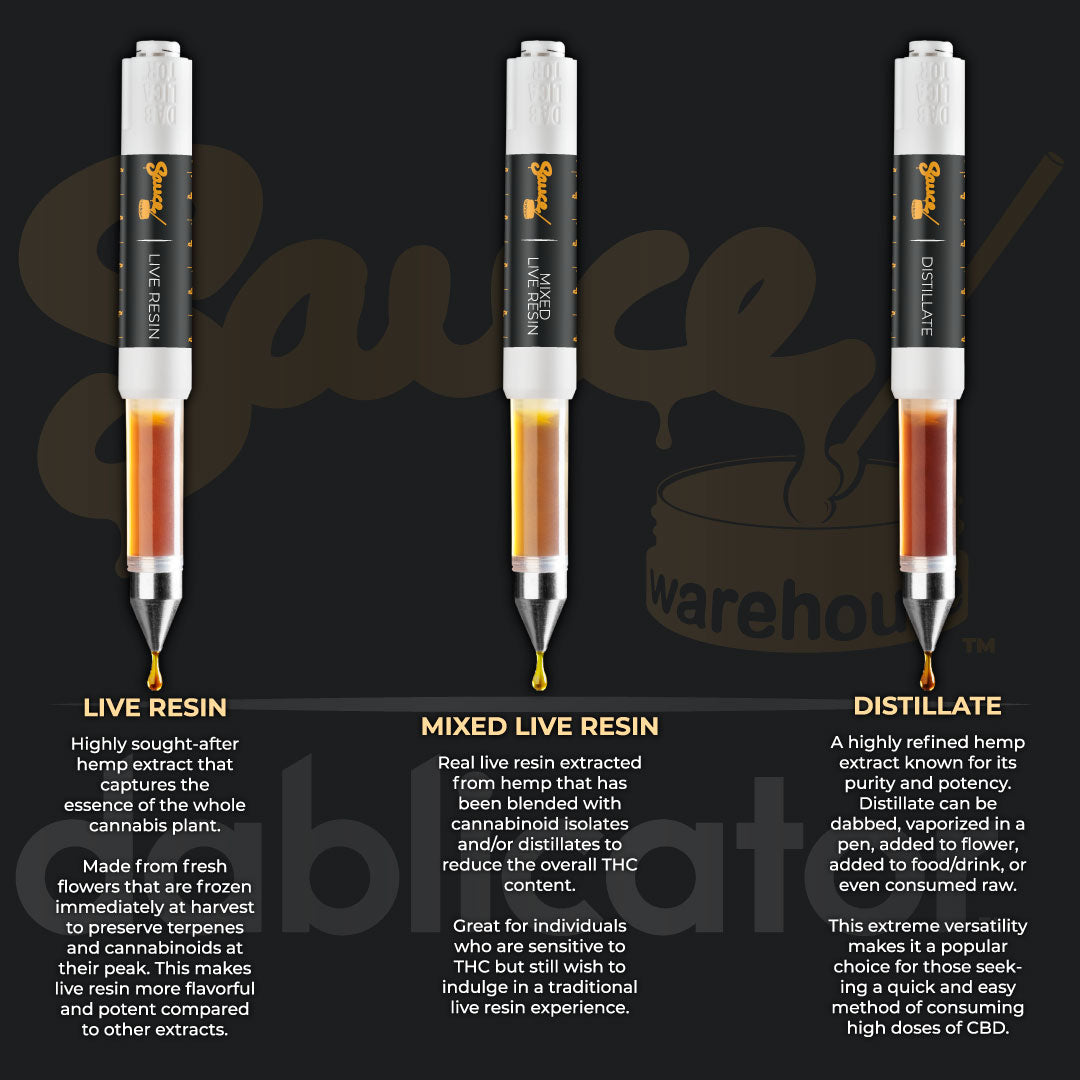
We partnered with Dablicator™ to bring you our new and improved live resin syringes. Each Dablicator™ contains 1 gram of live resin. Dablicator™ has a measured “plunger” for precise dosing and is 100% reusable.
CONTAINS NO ADDITIVES/CUTTING AGENTS
Buy it with


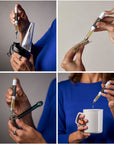
Fill Your Own Vape Carts
Watch the video below for a step by step guide to filling your own vape carts using a Dablicator.
How to Fill a Vape Cartridge with Dablicator
1. Secure the empty cart. There a lots of ways to do this including a vice, or, if it’s all you've got, a potato!
2. Warm Dablicator oil applicator so the oil flows easily. This can be done using a hair dryer or heating pad.
Note:If your oil is really thick, it can also be helpful to warm the empty cart.
3. Go slow and work in a circular motion as you dispense your oil into the vape cartridge.
4. Allow the oil to settle to the bottom of the cartridge before use. Be careful not to overfill.
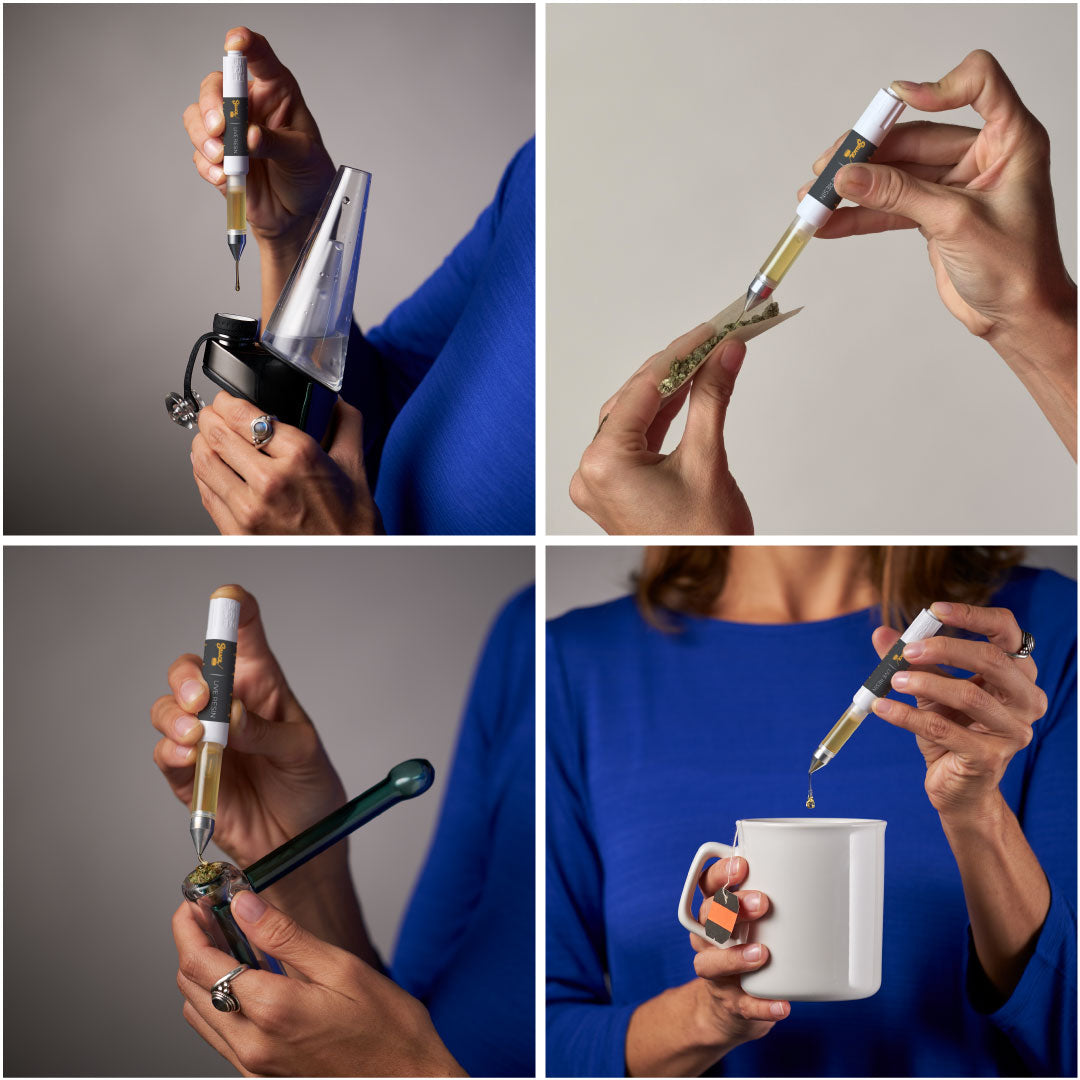
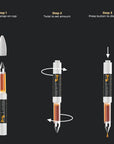
How to Use Dablicator
In the video below we show you how to use a Dablicator.
Dablicator How to Use
1. Remove cap.
2. Twist & click to desired dose.
3. Push to dispense.
4. Twist back to stop flow.
Shop All Dablicator™ Products


Customer Reviews
Saw some good reviews of Sauce warehouse on Reddit and gave them a try. I bought a sour pineapple dablicator, Super sour space candy live resin, and Super Sour space candy CBD shatter, and SW threw in a free half gram of Hawaiian Haze live resin.
I'll start by saying that I have tried many, many brands of CBD concentrates. I suffer from chronic low back pain and anxiety, and THC helps pain but makes anxiety worse. CBD is the best for both for myself, and Sauce Warehouse offers both full spectrum with minimal THC and broad spectrum with zero THC. One problem I have from a lot of other companies is getting a pure product with true to life cannabis flavors. Most CBD concentrates are isolate or distillate with terpenes added after, some not even from the cannabis that the cbd was extracted from. This leaves odd flavors that aren't quite right.
With sauce warehouse I found that their flavors and smells are the most true to life I have found. I dab my CBD concentrates in a Recycler Rig with a mini nail and they vape off clean and the effect is almost immediate. I notice a nice head change that's not overwhelming like THC, but definitely calming/relaxing and my pain gets a lot less noticeable. I can go about my day feeling better and glad I don't need any pharmaceuticals that they try to get you hooked on. I will def be a returning customer as I'm very impressed with their products, thanks Sauce Warehouse!
PS, if you have to deal with drug tests for work or other reasons, i would not go with full spectrum product as there is only very minimal THC but it will show up positive still. Go with the broad spectrum, it has everything else as far as CBD, CBG, CBN, and flavor ect but no THC so in theory you should be able to pass. Why we are still testing people for THC in 2024 is ridiculous, especially when it's legal in so many states now. And this product by federal law has less than .3 % THC but in the eyes of the pee testers your guilty.
THANK YOU SO MUCH! Yes, very important to note for anyone who needs to pass drug tests, ANY CBD product can contain traces of THC. Even products showing zero THC on lab results have caused people to fail drug tests due to trace amounts of THC that labs someitmes cannot detect.
Thank you again for this in depth review!!
This product is pretty awesome, no mess! I love knowing how many mg I’m approximately getting every time I take a hit! The Abacus is really helpful for me and smells and tastes great! A little pricy but, it’s a good pickup!
Thank you for the review!
very nice. but it burns ez rip at lowet volt
Always keep temps low for HTFSE! If it burns, terps are being burnt. Thank you for the review!
Yeah, I love it. Best way of using. Pop that little shiny tip out...fill it when it's empty. Great for dabbing cartridges. Really, you gotta try this. The taste of them is nice, real nice, a little dab il do ya. Try the Abacus HTE strain. High terpene count. Tasty
Aren't they the best!? Thanks for the review!
Again Sauce Warehouse nailed it.. they had these medicine dablicators 6months before most Medical Dispensaries. What's not to love about hooking yourself up every single time you order from these guys On point live resin dablicators n a menu full of delightful meds
Thank you for the review!
More Info
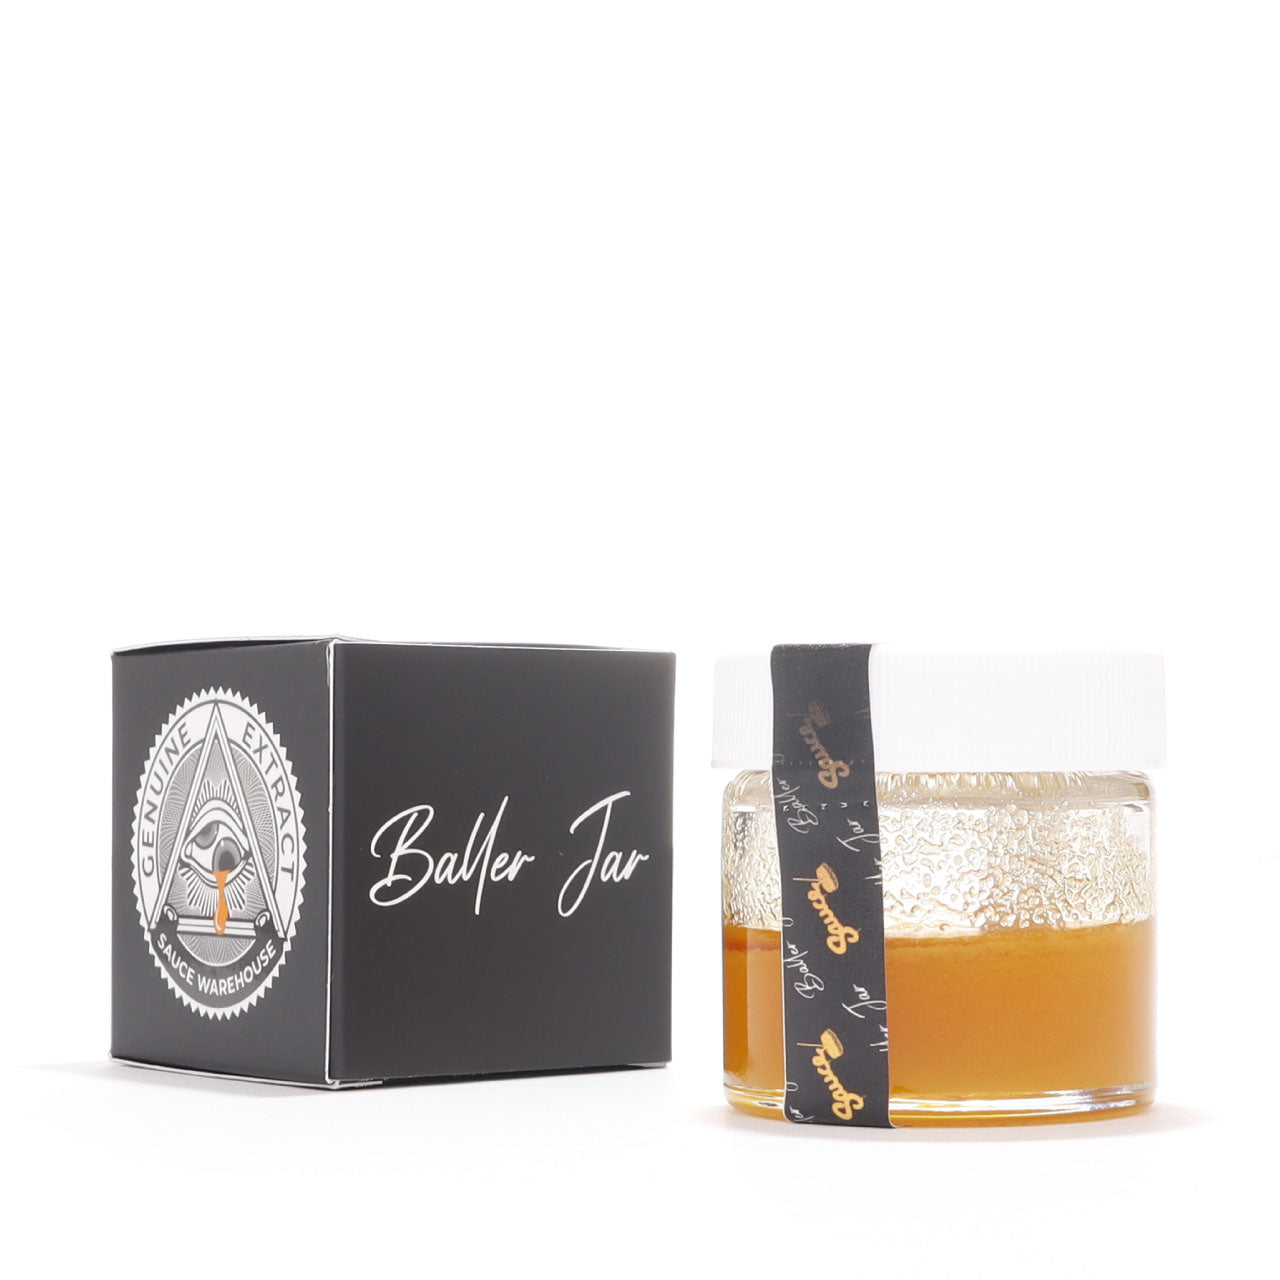
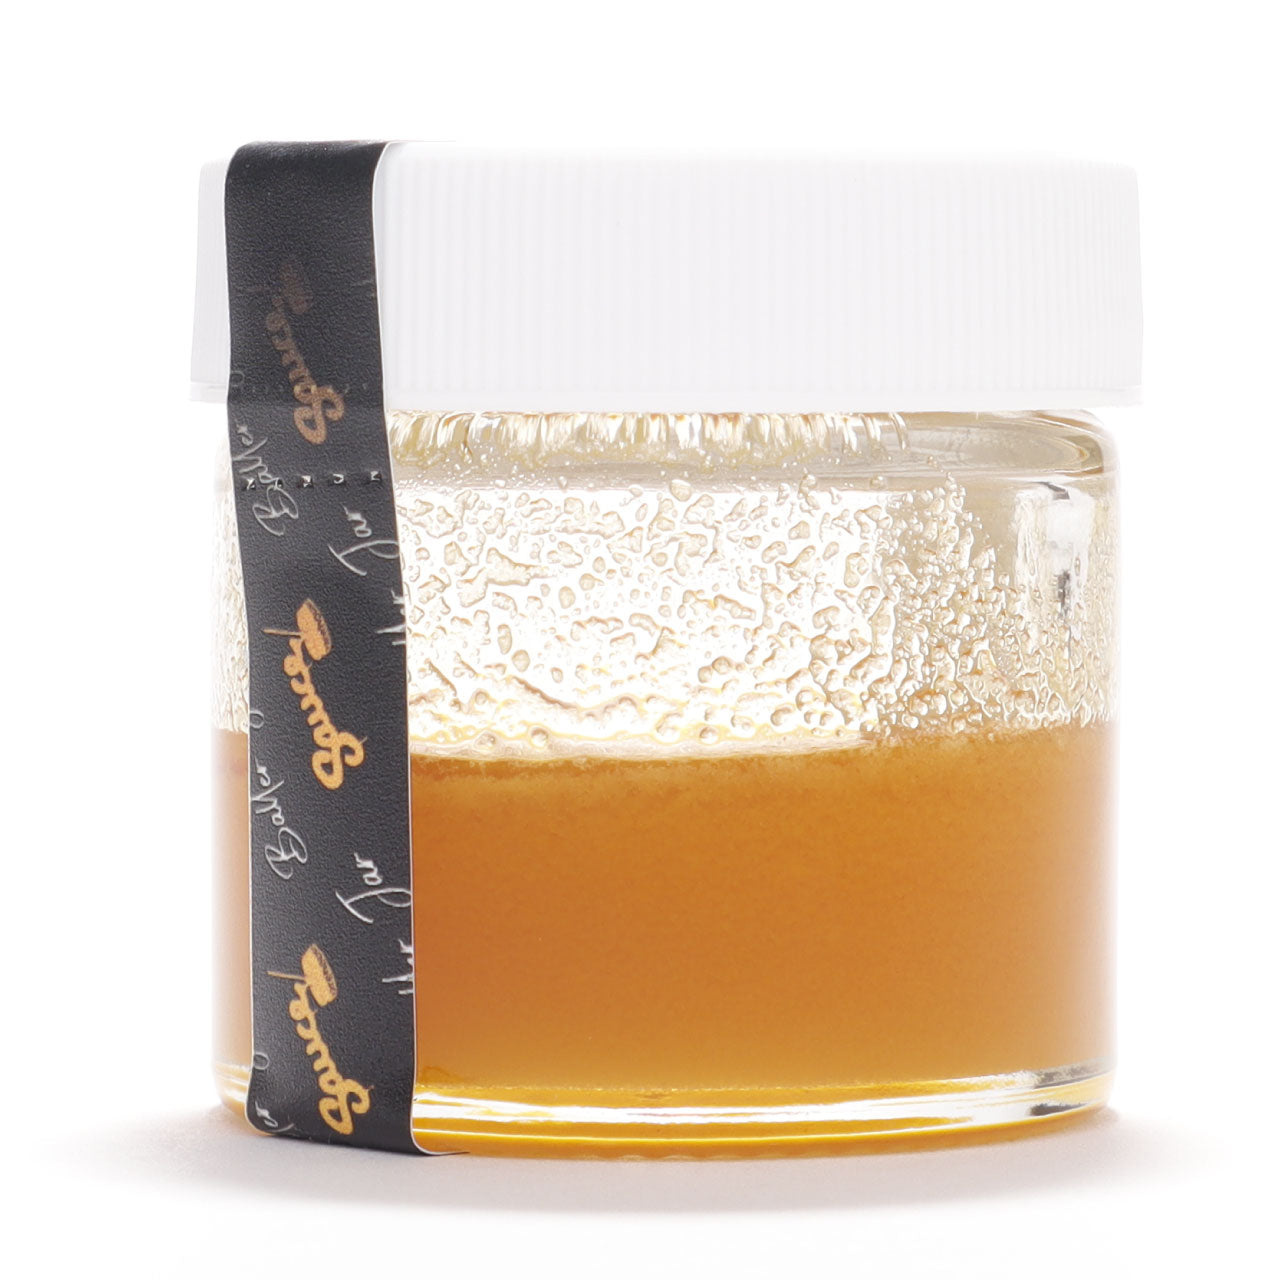
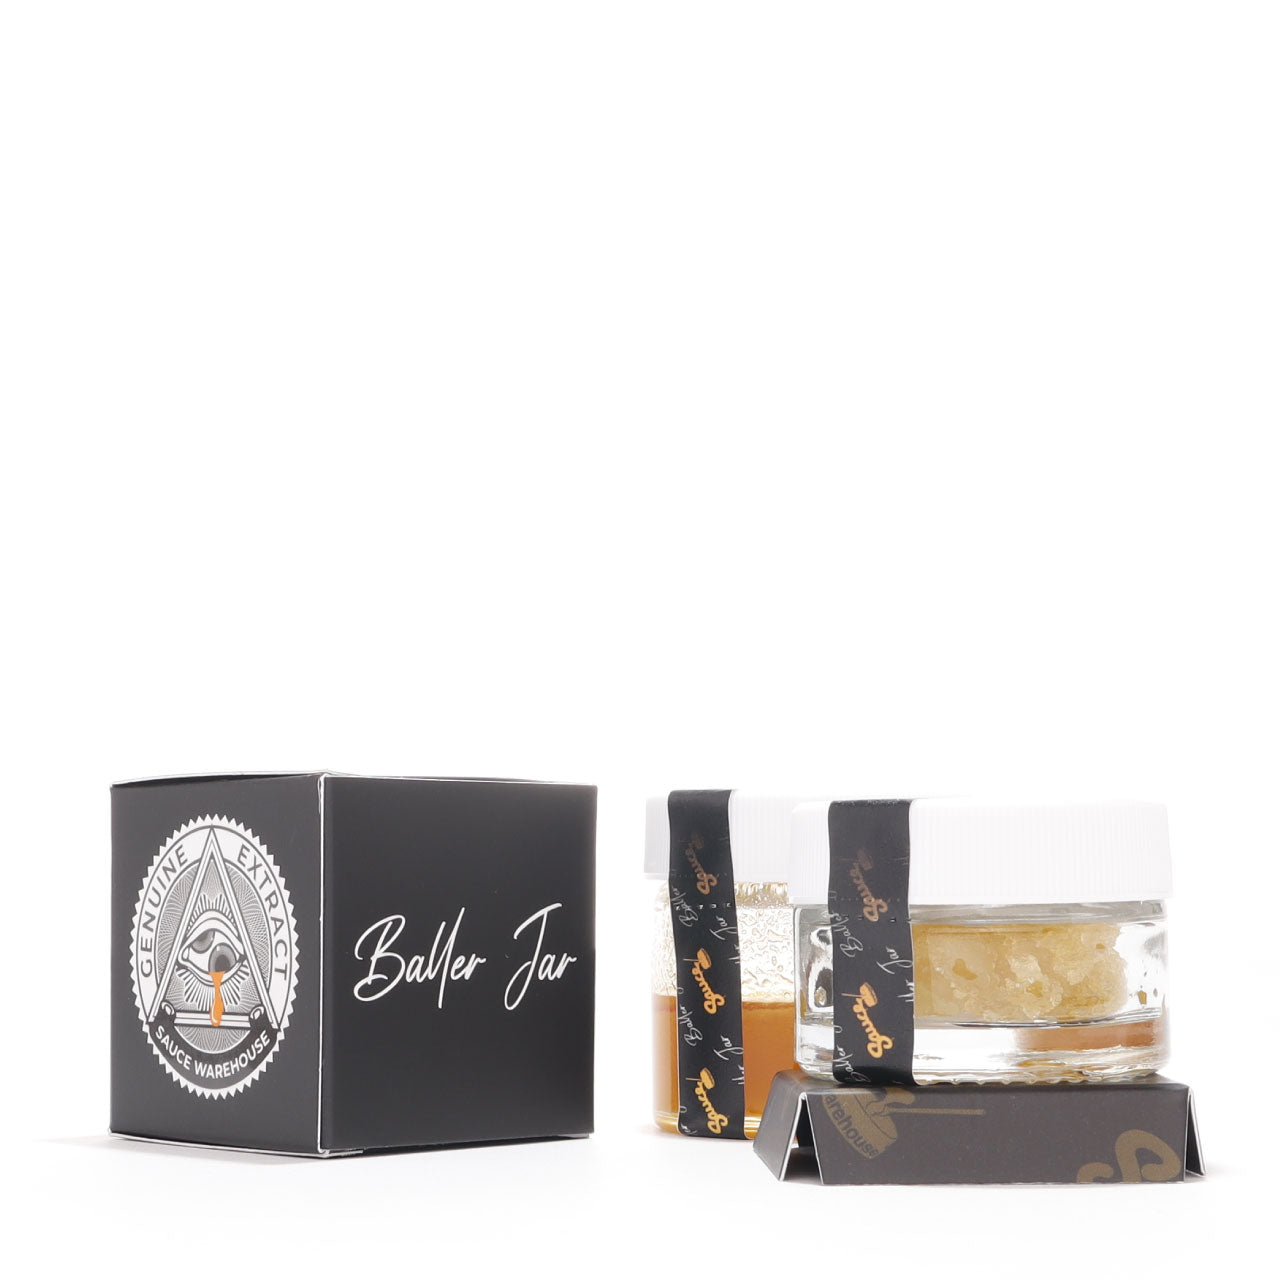
Looking for the ultimate CBD experience? Look no further! Our CBD Live Resin will revolutionize the way you enjoy cannabinoids. With a commitment to quality, purity, and potency, our Live Resin stands out as the top choice for CBD enthusiasts.
What is CBD Live Resin?
CBD Live Resin is a game-changer in the CBD world. Unlike traditional CBD products, our Live Resin is crafted from freshly harvested hemp flowers, which are immediately flash-frozen to preserve the plant's natural goodness. This innovative extraction method ensures that the full spectrum of cannabinoids and terpenes is retained, offering a truly holistic experience.
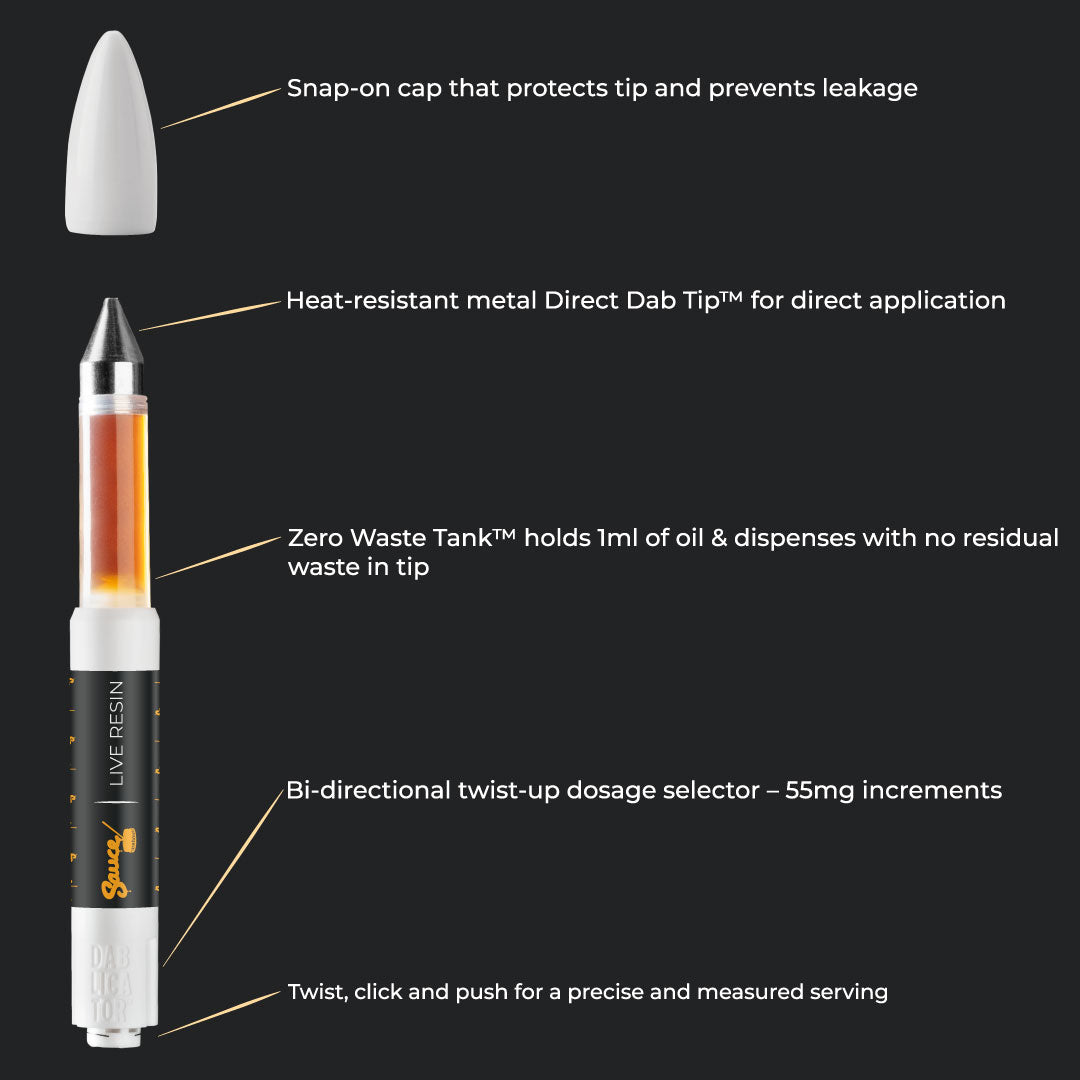
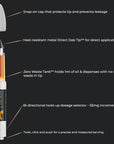
Dablicator™ Oil Applicator is the easiest, most versatile way to dispense oil. With a simple twist, click, and push, you get the right, repeatable dose every time. Dab directly, dose up a joint, infuse your own edibles, fill a vape cart, or even eat it directly.
The shatter-resistant, BPA-free tank keeps your oil safe. The Direct Dab Tip™ makes it easy to apply oil for hot or cold start dabs. And the small, discreet size and tank design means you can bring Dablicator™ oil applicator with you anywhere. The only limit to how you use Dablicator™ oil applicator is your imagination!
Features:
• Twist, click and push for repeatable oil delivery
• Bi-directional twist-up dosage selector: ~55mg increments
• Shatter-resistant, BPA-free tank holds up to 1.2ml of oil
• Snap-on cap that protects tip and prevents leakage
• Heat-resistant, metal Direct Dab Tip™ for direct application of oil